
frame
Howdy, Stranger!
It looks like you're new here. If you want to get involved, click one of these buttons!
Sign In RegisterHowdy, Stranger!
It looks like you're new here. If you want to get involved, click one of these buttons!
Quick Links
Categories
- 1.4K All Categories
- 7.3K General
- 6.2K General Discussions
- 412 Feature Request/Bug Report
- 545 Sales Questions and Answers
- 54 Time4VPS Life
- 242 Help requests
- 244 Server management
- 390 Tutorials
- 68 Various Tutorials
- 71 Web hosting control panels
- 133 Performance and Security
- 29 Web Applications
- 64 Linux Applications
- 25 Windows VPS


How To Install Zabbix on AlmaLinux 9 and Rocky Linux 9
 Michail
Moderator
Michail
Moderator
Introduction
Zabbix is a popular open source IT infrastructure and application monitoring system used by small, medium and large companies around the world.
This guide will guide you through the steps of installing Zabbix on AlmaLinux 9 and Rocky Linux 9, covering database setup, Zabbix server and web frontend configuration, and ensuring the required services are running.
Prerequisites
MariaDB: To run Zabbix, you will need MariaDB. If MariaDB is not installed on your server , you can install it using our guide.
Please note: The Nginx web server will be installed automatically during Zabbix configuration.
Installation Guide
1. Update Your System
Start by updating your system to ensure all existing packages are up-to-date:
dnf update -y
2. Disable Zabbix Packages Provided by EPEL
The Zabbix packages provided by EPEL repository may conflict with those from the Zabbix official repository. To avoid this, we will exclude Zabbix packages from the EPEL repository. Open the EPEL repository configuration file:
nano /etc/yum.repos.d/epel.repo
Under the [epel] section, add the following line to exclude Zabbix packages:
excludepkgs=zabbix*
Save and close the file.
3. Install Zabbix Repository
Now, install the Zabbix repository to your system:
rpm -Uvh https://repo.zabbix.com/zabbix/7.2/release/alma/9/noarch/zabbix-release-latest-7.2.el9.noarch.rpm
Clean the package cache:
dnf clean all
4. Install Zabbix Packages
Next, install the necessary Zabbix components:
dnf install zabbix-server-mysql zabbix-web-mysql zabbix-nginx-conf zabbix-sql-scripts zabbix-selinux-policy zabbix-agent -y
5. Configure MySQL for Zabbix
Log in to MySQL:
mysql -u root -p
Create a Zabbix database:
CREATE DATABASE zabbix CHARACTER SET utf8mb4 COLLATE utf8mb4_bin;
Create a user for Zabbix and grant the necessary privileges:
CREATE USER 'zabbix'@'localhost' IDENTIFIED BY 'New_Password';
GRANT ALL PRIVILEGES ON zabbix.* TO 'zabbix'@'localhost';
SET GLOBAL log_bin_trust_function_creators = 1;
Note: Replace New_Password with your actual strong password.
Exit MySQL:
EXIT;
6. Import Zabbix Schema and Data
Import the initial Zabbix schema and data:
zcat /usr/share/zabbix/sql-scripts/mysql/server.sql.gz | mysql --default-character-set=utf8mb4 -uzabbix -p zabbix
7. Disable log_bin_trust_function_creators Option
After the import is complete, disable the log_bin_trust_function_creators option:
mysql -u root -p
Run the following SQL command:
SET GLOBAL log_bin_trust_function_creators = 0;
EXIT;
8. Configure Zabbix Server
Now, we need to configure the Zabbix server by setting the database password.
Open the Zabbix server configuration file:
nano /etc/zabbix/zabbix_server.conf
Find the DBPassword directive and set it to the password you created for the zabbix MySQL user:
DBPassword=New_Password
Replace New_Password with the actual password you used.
Then save and close the file.
9. Configure Nginx for Zabbix Frontend
Next, configure Nginx to serve the Zabbix web frontend.
Open the Nginx configuration file for Zabbix:
nano /etc/nginx/conf.d/zabbix.conf
Find and uncomment the following lines to set up the Zabbix frontend on port 8080:
listen 8080;
server_name example.com;
Replace example.com with your server's hostname.
Save and close the file.
10. Start Zabbix and Related Services
Start the Zabbix server, agent, Nginx, and PHP-FPM services:
systemctl restart zabbix-server zabbix-agent nginx php-fpm
11. Enable Services to Start on Boot
Ensure these services start automatically on boot:
systemctl enable zabbix-server zabbix-agent nginx php-fpm
12. Configure the Firewall
Allow traffic on port 8080 for the Zabbix frontend:
iptables -I INPUT -p tcp --dport 8080 -j ACCEPT
iptables-save > /etc/sysconfig/iptables
systemctl restart iptables
13. Install Let's Encrypt (Optional)
If you want to access Zabbix through HTTPS, you also need to install Let's Encrypt certificate for your server hostname.
Install EPEL repository (if not already installed):
dnf install epel-release
Install Certbot and Nginx plugin:
dnf install certbot python3-certbot-nginx
Obtain and install SSL certificate:
certbot --nginx
14. Generate the en_US.UTF-8 Locale
If locale en_US.UTF-8 is missing or not properly set up on your server, you will not be able to complete the Zabbix setup process.
Generate locale by running command:
So first of all, make sure the glibc-langpack-en package is installed:
dnf install glibc-langpack-en -y
Next, ensure that the system and environment variables use the correct locale:
export LANG=en_US.UTF-8
export LC_ALL=en_US.UTF-8
echo "LANG=en_US.UTF-8" >> /etc/environment
echo "LC_ALL=en_US.UTF-8" >> /etc/environment
ter setting up the locale, restart the web server (Nginx/Apache) and PHP-FPM:
systemctl restart nginx
systemctl restart php-fpm
Zabbix frontend setup
1. Access the Zabbix Web Interface
Finally, open your browser and navigate to the Zabbix web interface simply by entering your hostname.
https://your-server-hostname
You will see the page where you can set up your Zabbix.
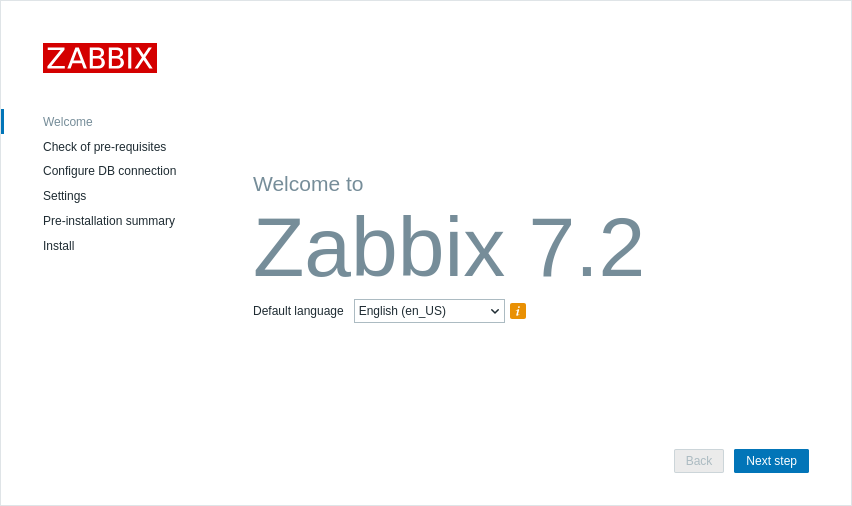
2. Select Language
The first page will ask you to choose your preferred language for the installation and display the version of Zabbix being installed. You can select the language and click 'Next step"
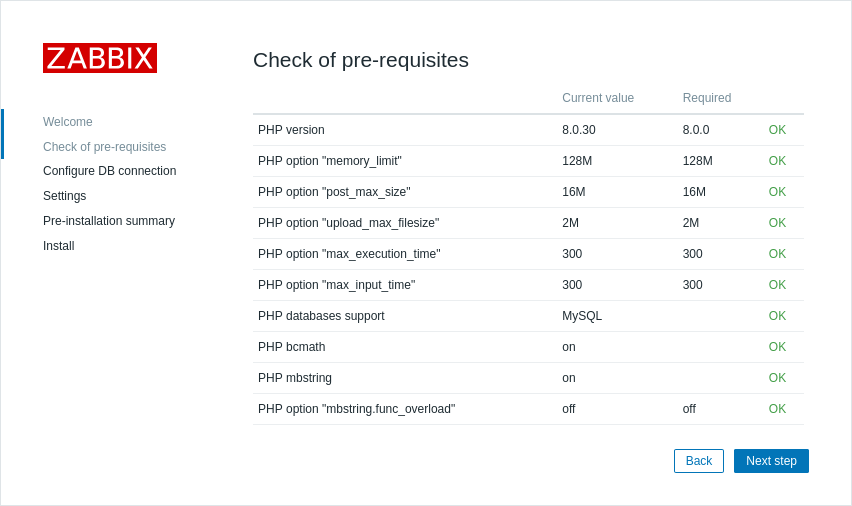
3. Check of the pre-requisites
Zabbix will verify that the necessary PHP versions and settings are installed on your system. Ensure that all requirements are fulfilled before proceeding.
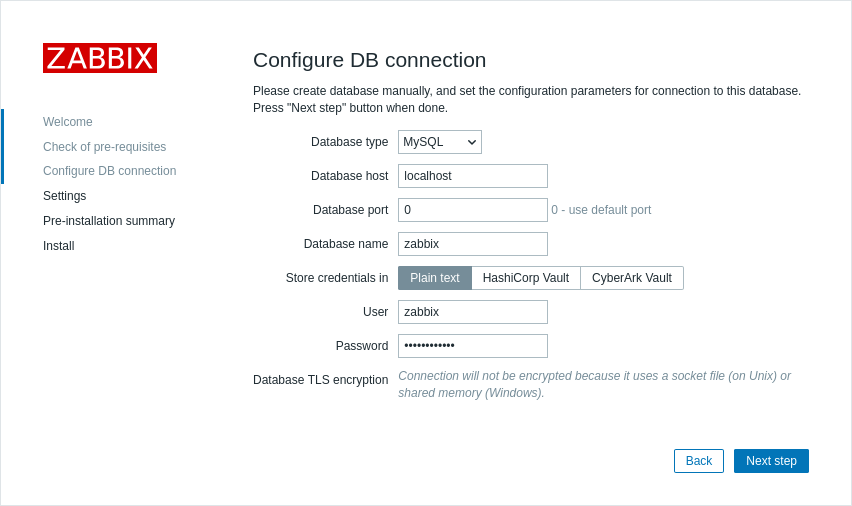
4. Configure Db connection
Next, provide the database details, including the database name, username, and password that were set up earlier:
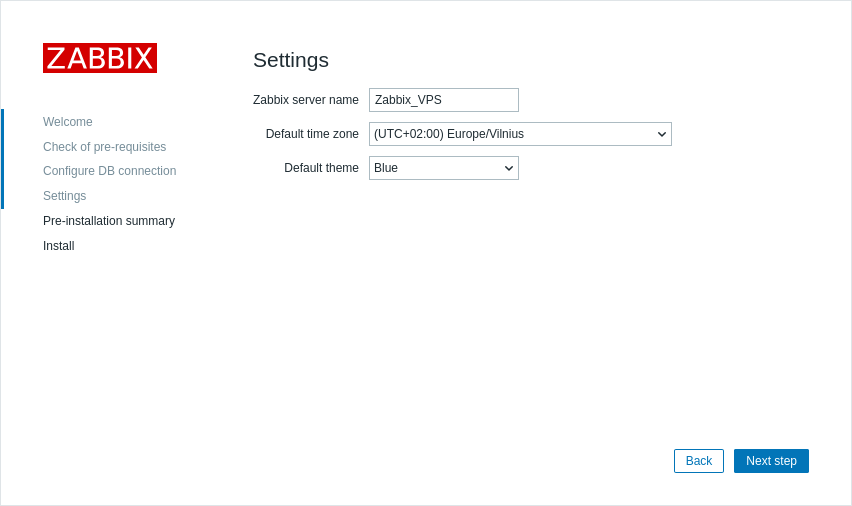
5. Other settings
Next, you will need to configure the server name, set the time zone, and select the default theme for the Zabbix frontend:
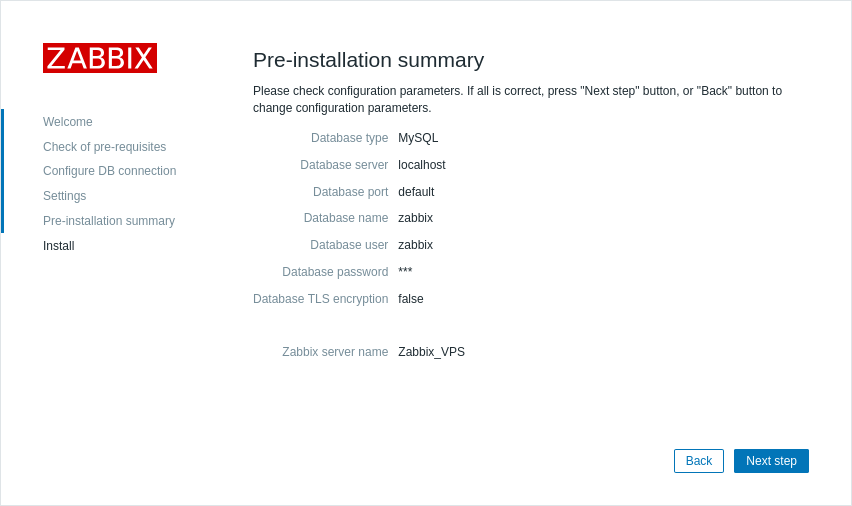
6. Summary
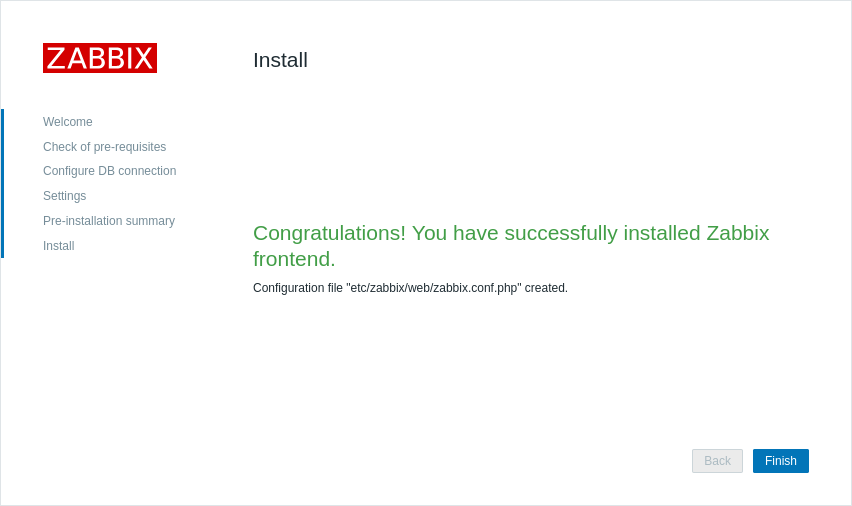
The system will show a summary of the configurations and checks. Click "Next step" to finish the installation process:
7. Login to Zabbix
Now you can access your Zabbix dashboard. Enter default Admin credentials:
Username: Admin
Password: zabbix
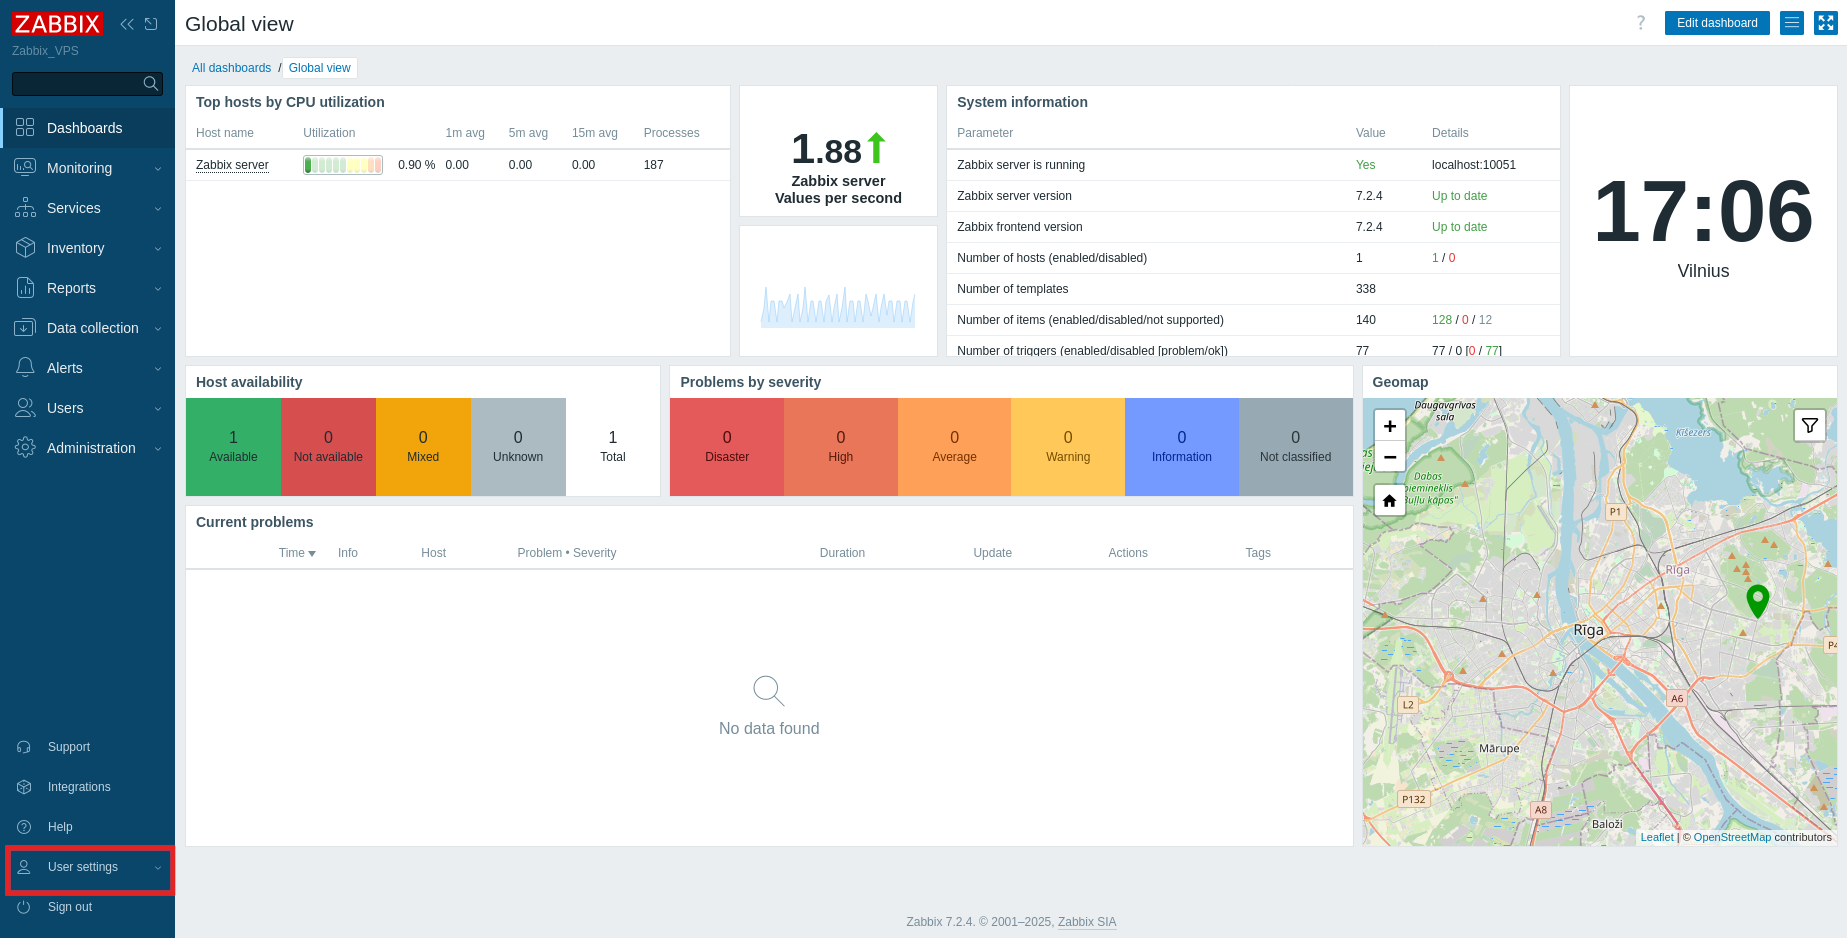
After logging in, you will be taken to the Zabbix dashboard, where you can start configuring and monitoring your systems.
However, first of all, we recommend you to change default Admin password.
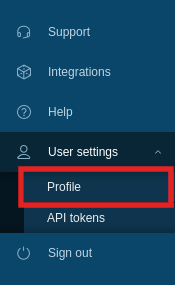
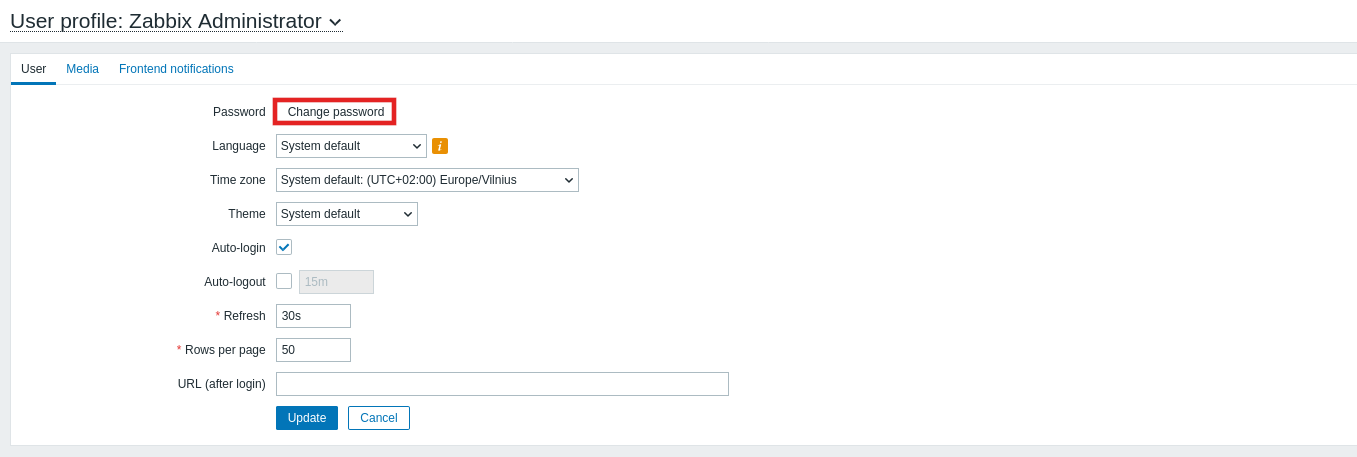
Click on "User settings" in the lower right corner:
Then, click "Profile":
Next, click on "Change password":
Enter the current password and a new one and click "Update" to save changes. Use a 12-16 character password with uppercase, lowercase, numbers, and special characters for strong Zabbix security.
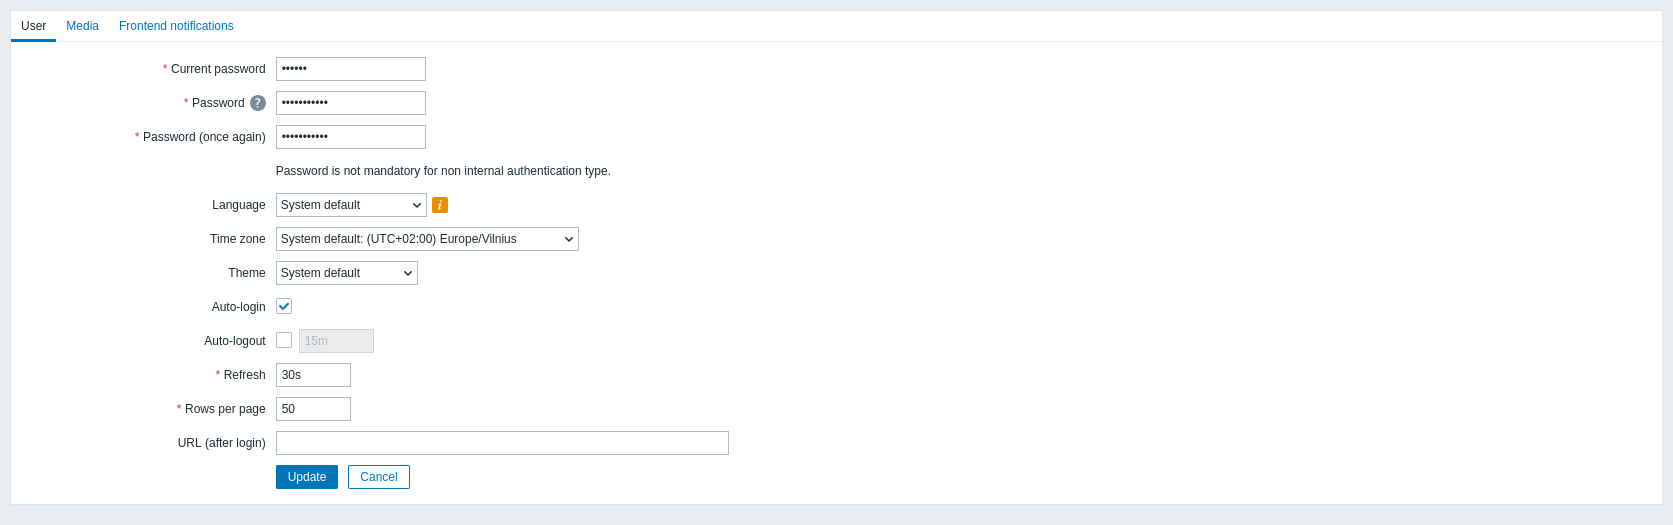
After that, you will need to log in again with new credentials.
Conclusion
Installing Zabbix sets up a reliable monitoring system for your infrastructure. By completing the setup, configuring the database, and securing the installation, you can easily track performance and detect issues early.
foot
Feel free to join our constantly expanding community, participate in discussions, strengthen your knowledge on Linux and Windows server management!
© 2013 - 2025 Time4VPS. All rights reserved.