
frame
Howdy, Stranger!
It looks like you're new here. If you want to get involved, click one of these buttons!
Sign In RegisterHowdy, Stranger!
It looks like you're new here. If you want to get involved, click one of these buttons!
Quick Links
Categories
- 1.4K All Categories
- 7.3K General
- 6.2K General Discussions
- 412 Feature Request/Bug Report
- 545 Sales Questions and Answers
- 54 Time4VPS Life
- 242 Help requests
- 244 Server management
- 390 Tutorials
- 68 Various Tutorials
- 71 Web hosting control panels
- 133 Performance and Security
- 29 Web Applications
- 64 Linux Applications
- 25 Windows VPS


How To Install pgAdmin on AlmaLinux 9 and Rocky Linux 9
 Michail
Moderator
Michail
Moderator
Introduction
pgAdmin 4 is a web-based management tool for PostgreSQL. This guide explains how to install and configure pgAdmin 4 on AlmaLinux 9 and Rocky Linux 9.
Prerequisites
Apache: Make sure the Apache web server is installed enabled. You can follow our guide to install it.
1. Install Required Utilities
Before installing pgAdmin 4, install yum-utils:
dnf install yum-utils -y
2. Add pgAdmin 4 Repository
Download and install the official pgAdmin 4 repository:
rpm -i https://ftp.postgresql.org/pub/pgadmin/pgadmin4/yum/pgadmin4-redhat-repo-2-1.noarch.rpm
3. Update System Packages
Run an update to refresh the package list:
dnf update -y
4. Install pgAdmin 4
Now install pgAdmin 4:
dnf install pgadmin4 -y
5. Configure pgAdmin 4 Web Mode
Run the pgAdmin 4 web setup script:
/usr/pgadmin4/bin/setup-web.sh
During this step, you will be prompted to:
- Set up an email address as the administrator login.
- Choose and confirm an admin password.
6. Open Firewall Ports
IPtables:
Allow HTTP (port 80) and HTTPS (port 443) traffic if they are not open yet:
iptables -I INPUT -p tcp --dport 80 -j ACCEPT
iptables -I INPUT -p tcp --dport 443 -j ACCEPT
Save changes:
iptables-save | sudo tee /etc/sysconfig/iptables
Restart iptables:
systemctl restart iptables
Firewalld:
If you are using firewalld, run these commands to allow HTTP and HTTPS:
firewall-cmd --permanent --add-service=http
firewall-cmd --permanent --add-service=https
firewall-cmd --reload
7. Adjust SELinux (if enabled) 4
If SELinux is in enforcing mode, you will not be able to access pgAdmin after installation.
You can check SELinux status by running this command:
getenforce
If it returns Disabled, then SELinux is turned off, and you can install pgAdmin.
If the status is Enforcing, it means SELinux is enabled and actively enforcing its policies.
Permissive – SELinux is enabled but only logs violations instead of enforcing them. You can keep it as permissive and install pgAdmin.
So if the status "Enforcing" you need to change to permissive:
nano /etc/selinux/config
Find the line:
SELINUX=enforcing
Change "enforcing" to "permissive".
Save file and exit.
Next, reboot:
reboot
8. Access pgAdmin 4
Now you can access pgAdmin 4 in a web browser using your server's IP address:
http://server-ip/pgadmin4
Replace server-ip with your actual server's IP address.
You will see the "login" page. Enter the email address and password that you specified during the installation process.

Next, you will the pgAdmin dashboard:
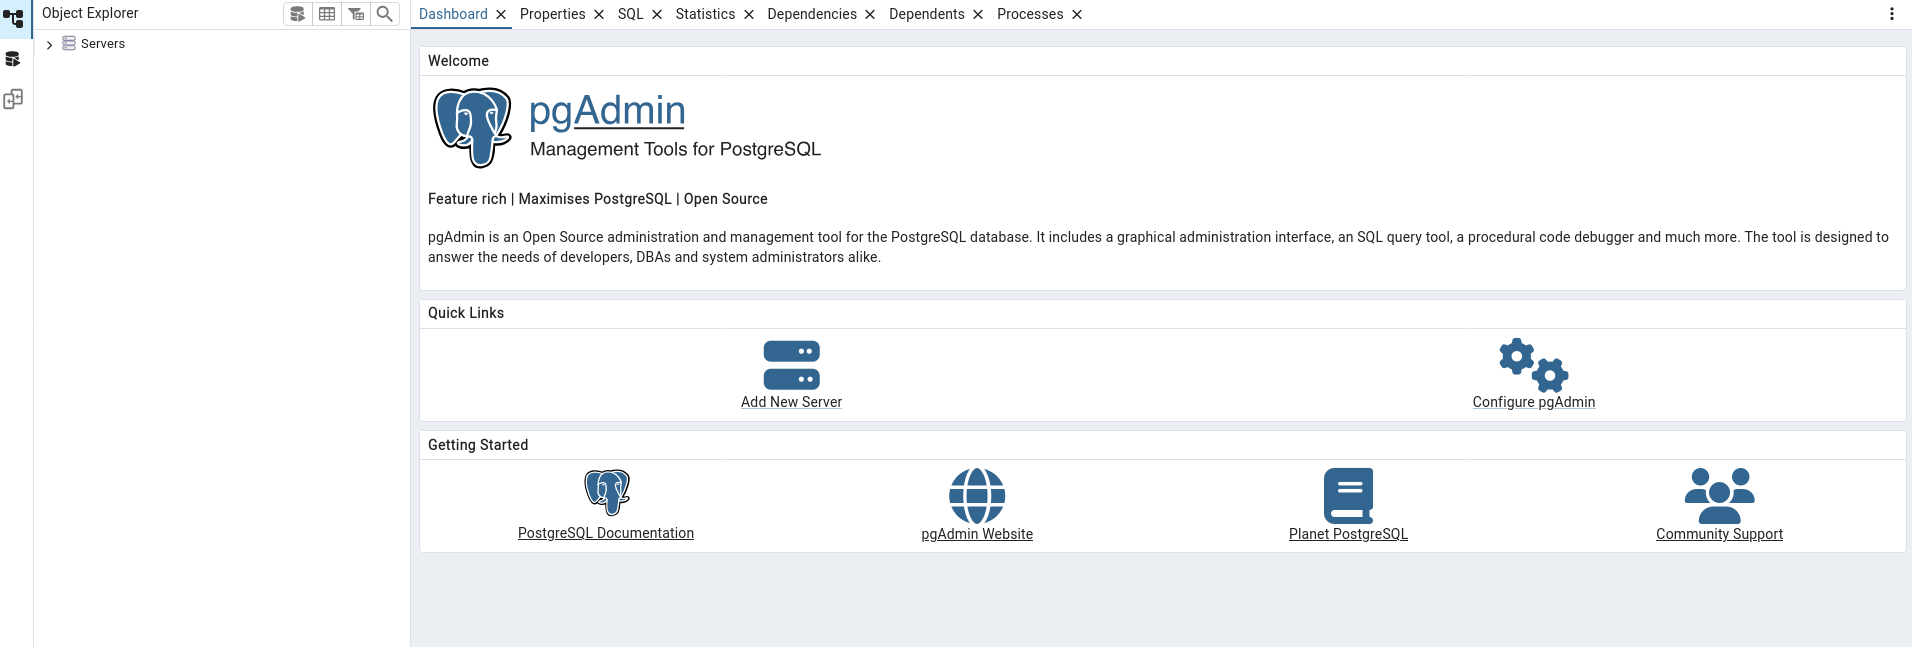
Conclusion
PgAdmin 4 has been successfully installed and configured on your RHEL-based system. You can now access the web interface to efficiently manage your PostgreSQL databases.
foot
Feel free to join our constantly expanding community, participate in discussions, strengthen your knowledge on Linux and Windows server management!
© 2013 - 2025 Time4VPS. All rights reserved.
Comments
Thanks for the clear and detailed guide! Everything worked smoothly on my Rocky Linux 9 server. I’m using this setup along with SMTPwire for sending email notifications from PostgreSQL triggers. Anyone planning to use pgAdmin for database alerts or email-based reporting — this combo works great! Appreciate the step-by-step explanation, especially the SELinux part — that saved me a lot of debugging time.
Thanks a lot for the feedback! Glad to hear it worked well with your setup - sounds like a great use case!