
frame
Howdy, Stranger!
It looks like you're new here. If you want to get involved, click one of these buttons!
Sign In RegisterHowdy, Stranger!
It looks like you're new here. If you want to get involved, click one of these buttons!
Quick Links
Categories
- 1.4K All Categories
- 7.3K General
- 6.2K General Discussions
- 412 Feature Request/Bug Report
- 545 Sales Questions and Answers
- 54 Time4VPS Life
- 242 Help requests
- 244 Server management
- 390 Tutorials
- 68 Various Tutorials
- 71 Web hosting control panels
- 133 Performance and Security
- 29 Web Applications
- 64 Linux Applications
- 25 Windows VPS


How to Install Django on AlmaLinux/RockyLinux 9
 Michail
Moderator
Michail
Moderator
Introduction
Django is a powerful, high-level Python web framework that enables developers to create web applications quickly and efficiently. It comes with a variety of built-in tools and libraries designed to streamline the development process and accelerate application creation. Known for its flexibility and robust capabilities, Django is a popular choice among developers.
In this tutorial, we will guide you through the process of installing Django on AlmaLinux 9 And RockyLinux 9.
Important note: This guide focuses on installing Django with Python 3.12. Python 3.12 offers important new features, performance enhancements, and security updates, making it a great choice for new projects and ensuring long-term support. However, for existing projects, it's essential to confirm compatibility before upgrading, as not all Django versions or third-party dependencies may support Python 3.12. Be sure to verify that your Django version is compatible, check your project's dependencies, and test the upgrade in a development or staging environment to prevent any issues with your live application. Always back up your project before making any major changes to the Python version.
Prerequisites
Before following this guide to install Django, make sure Python 3.12 is already installed on your system. If not, please refer to our installation guide.
Installation Guide
1. Update the system
As always, first you need to update your system:
dnf update -y
2. Create a Virtual Environment for Django
Create Django virtual environment by running this command:
python3.12 -m venv django_env
Then activate the virtual environment:
source django_env/bin/activate
3. Install Django
Next, install Django by running the following command:
pip install django
Then check installed Django version:
django-admin --version
If it was installed correctly, you should see the version number of Django.
4. Create a new project
Django installed, so now you can create new project. Run this command (you can choose any name for your project, "myproject" is just an example):
django-admin startproject myproject
Navigate to the project directory:
cd myproject
5. Add IP to Allowed Hosts
Next, open the settings.py file and add the server's IP address to the ALLOWED_HOSTS list. You can use any text editor of your choice; in this example, we use nano (make sure the path correct and specified with your project name):
nano /tmp/Python-3.12.0/myproject/myproject/settings.py
Then find this line:
ALLOWED_HOSTS = []
Add your server's IP (or any other IP) to this line, like in this example:
ALLOWED_HOSTS = ['server_IP, 'home_IP', 'local_IP'']
Save the file and exit.
6. Apply the migrations
Run the following command to apply all the migrations:
python manage.py migrate
7. Create Superuser
Run this command to create superuser for the admin area:
python manage.py createsuperuser
After executing the command, you will be prompted to enter a username, email, and password. Provide the necessary details accordingly.
8. Start Django Project
Start the Django development server by running this command with your selected IP (the one you specified in the allowed hosts):
python3 manage.py runserver SERVER_IP_ADDRESS:8000
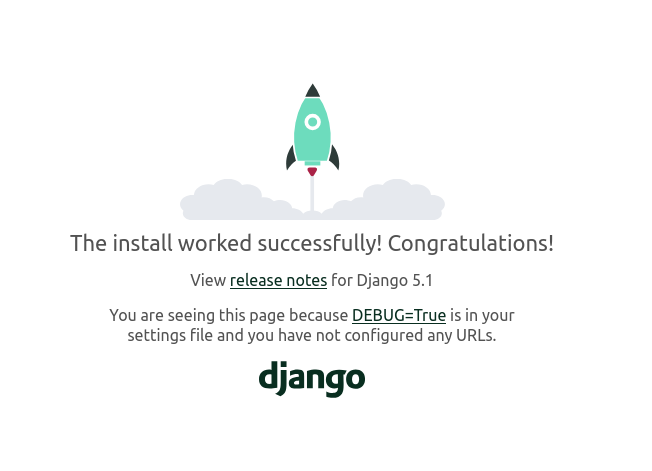
9. Access Django Project
You can access your Django project by entering your server's IP address followed by port 8000.
YOUR_SERVER_IP_ADDRESS:8000
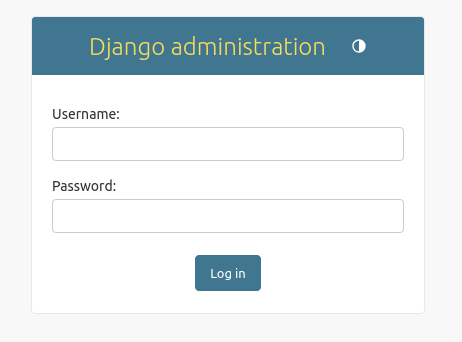
You can access the admin area by entering your server's IP address in the following format:
YOUR_SERVER_IP_ADDRESS:8000/admin
You will be directed to the login page where you need to enter your superuser credentials:
Once logged in, you will be directed to the Django admin dashboard:

Conclusion
By following this guide, you have successfully installed Django on your server and created your first Django project. With the development server running, you're now ready to begin building your web application.
foot
Feel free to join our constantly expanding community, participate in discussions, strengthen your knowledge on Linux and Windows server management!
© 2013 - 2025 Time4VPS. All rights reserved.