frame
Howdy, Stranger!
It looks like you're new here. If you want to get involved, click one of these buttons!
Sign In RegisterHowdy, Stranger!
It looks like you're new here. If you want to get involved, click one of these buttons!
Quick Links
Categories
- 1.4K All Categories
- 7.3K General
- 6.2K General Discussions
- 412 Feature Request/Bug Report
- 545 Sales Questions and Answers
- 54 Time4VPS Life
- 242 Help requests
- 244 Server management
- 390 Tutorials
- 68 Various Tutorials
- 71 Web hosting control panels
- 133 Performance and Security
- 29 Web Applications
- 64 Linux Applications
- 25 Windows VPS
How To Install Django on Ubuntu/Debian
 Michail
Moderator
Introduction
Django is a high-level Python web framework that allows you to quickly and easily create web applications. It provides many built-in tools and libraries that simplify development and speed up the process of creating applications. This framework is especially popular among developers due to its flexibility and powerful capabilities.
In this tutorial, we will install Django on Ubuntu (starting from version 20.04) and Debian 11 and 12.
Please note: In this guide, we will install Django with the Python 3.12 version. Python 3.12 introduces valuable new features, performance improvements, and security updates, making it an ideal choice for new projects and ensuring long-term support. However, for existing projects, it's crucial to check compatibility before upgrading, as not all versions of Django or third-party dependencies may support Python 3.12. Be sure to verify that your Django version is compatible, review the dependencies used in your project, and test the upgrade in a development or staging environment to avoid any disruptions to your live application. Always back up your project before making significant changes to the Python version.
Prerequisites
Before proceeding with this guide to install Django, ensure that Python 3.12 is already installed on your system (refer to our guide if it's not).
Installation Guide
1. Update the system
Start by updating your system:
apt update -y && apt upgrade -y
2. Set Up the Django Web Framework
Run these commands below to set up and activate a virtual environment in a chosen directory (opt in this example) on your server:
cd /opt
Then run this command:
apt install python3.12-venv
On some distributions you will get an error message. If you getting an error, just continue:
python3 -m venv django-venv
source django-venv/bin/activate
3. Install Django
Run this command to install Django:
pip3 install django
4. Veify Django installation.
To check if Django was installed successfully, run this command:
django-admin --version
The output should provide you the installed Django version.
5. Set Up A New Django Project
Now you can create a new Django project:
django-admin startproject yourproject
6. Migrate Django Database
Navigate to the created directory of your project:
cd /opt/yourproject
Next you need to migrate the Django database:
python3 manage.py migrate
7. Create Superuser
Next, run this command to create superuser for Django:
python3 manage.py createsuperuser
Upon running the command, you will be prompted to provide a username, email, and password. Enter the required details.
8. Add IP to Allowed Hosts
Now we need to open the settings.py file and add the server's IP address to the ALLOWED_HOSTS list. Use your preferred text editor (in this example we use nano):
nano yourproject/settings.py
Find the line with ALLOWED_HOSTS and add your server's IP as in this example:
ALLOWED_HOSTS = ['server_IP']
If you need to add more than one IP address, you can add them one at a time, separated by commas.
ALLOWED_HOSTS = ['server_IP, 'home_IP', 'local_IP'']
Save the file and exit.
9. Start Django Project
Run this command with your server's IP to start Django Project:
python3 manage.py runserver SERVER_IP_ADDRESS:8000
10. Access Django Project
You can access your Django Projectl by entering your server's IP followed by port 8000:
YOUR_SERVER_IP_ADDRESS:8000
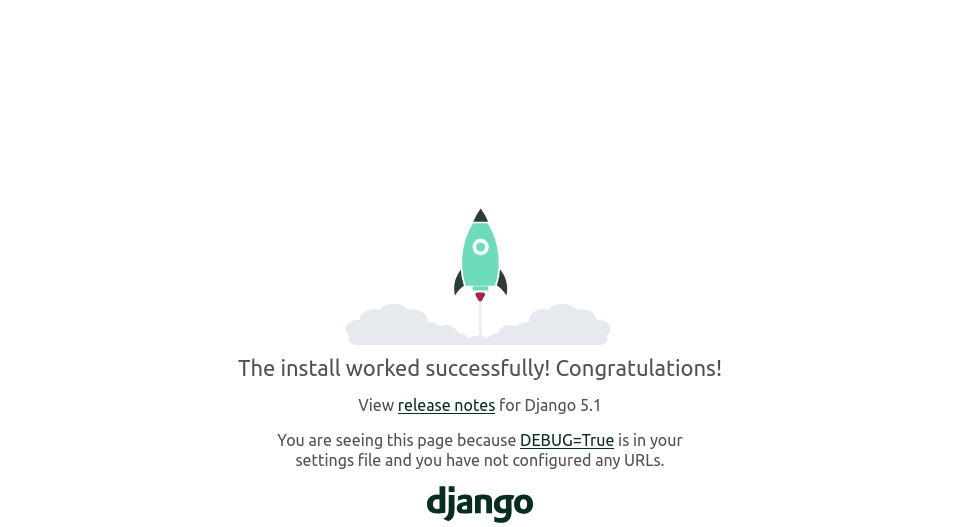
You should see Django default page:

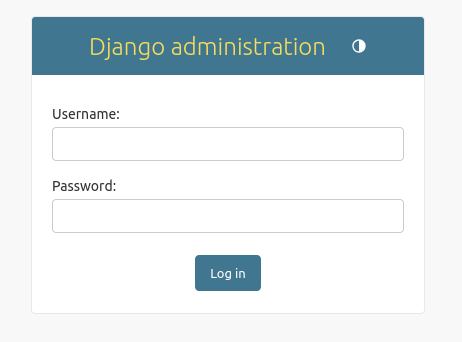
You can access admin area by entering server's IP in this format:
YOUR_SERVER_IP_ADDRESS:8000/admin
You will see the login page where you need to enter your superuser credentials:

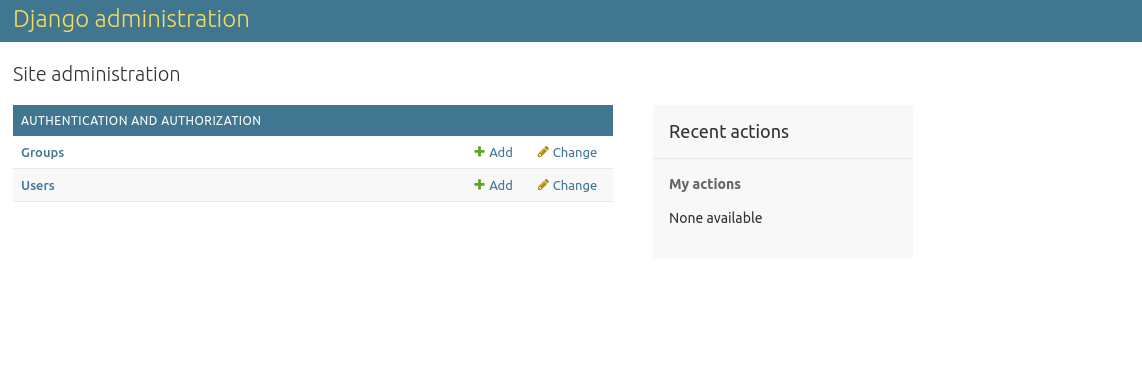
After that, you will see Django admin dashboard:

Conclusion
By following this guide, you’ve successfully installed Django on your server, created a virtual environment to isolate your Python dependencies, and set up your first Django project. With the development server running, you are now ready to start building your web application.


