frame
Howdy, Stranger!
It looks like you're new here. If you want to get involved, click one of these buttons!
Sign In RegisterHowdy, Stranger!
It looks like you're new here. If you want to get involved, click one of these buttons!
Quick Links
Categories
- 1.4K All Categories
- 7.3K General
- 6.2K General Discussions
- 412 Feature Request/Bug Report
- 545 Sales Questions and Answers
- 54 Time4VPS Life
- 242 Help requests
- 244 Server management
- 390 Tutorials
- 68 Various Tutorials
- 71 Web hosting control panels
- 133 Performance and Security
- 29 Web Applications
- 64 Linux Applications
- 25 Windows VPS
How To install Hestia on Ubuntu/Debian
 Michail
Moderator
Introduction
HestiaCP is a convenient and free open source server control panel. It allows you to easily configure and manage websites, mail, databases and other services on the server. The panel has a user-friendly interface.
This guide will show you how to install Hestia on Ubuntu 20.04 & 22.04 and Debian 11 & 12. Please be aware that Hestia is currently not supported on Ubuntu 24.04.
Important warning
It is recommended to install Hestia on a fresh, empty server. We recommend you to create a backup of your server before installing Hestia, especially if it has custom configurations. The installation process may alter system settings or install software that could conflict with your existing setup. Having a backup allows you to restore your server to its original state if any issues arise during the installation.
Also, during the installation process, numerous components necessary for running Hestia will be automatically installed on your server:
- NGINX Web / Proxy Server
- Apache Web Server (as backend)
- PHP-FPM Application Server
- Bind DNS Server
- Exim Mail Server + ClamAV + SpamAssassin
- Dovecot POP3/IMAP Server
- MariaDB Database Server
- Vsftpd FTP Server
- Firewall (iptables) + Fail2Ban Access Monitor
Installation Guide
1. Update the system
Start by updating your system:
apt update && apt upgrade -y
2. Install the wget
Next, make sure the wget is installed on your server. If not, run this command:
apt install -y wget
You can check wget status by running this command:
wget --version
3. Install Hestia
Finally, run these commands to download and install Hestia:
wget https://raw.githubusercontent.com/hestiacp/hestiacp/release/install/hst-install.sh
chmod +rw hst-install.sh
bash hst-install.sh
During the installation, you will need to confirm the removal of conflicting packages by typing y. You will also need to enter your email and the domain name. If you want to use the server's default hostname, do not type anything and just press Enter:
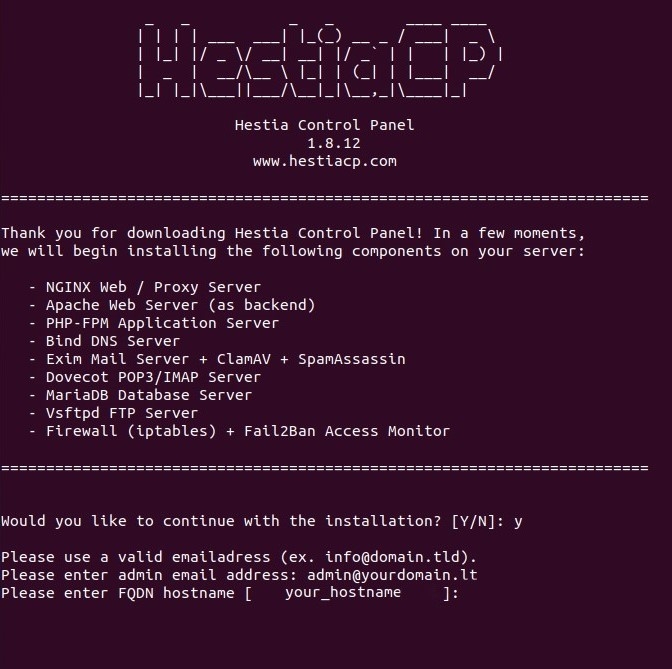
The installation will take some time.
Once the installation is complete, the Hestia username (admin), password and the control panel link will be displayed. Make sure to save them for future use.
After installation, your server will automatically reboot.
4. Install Let's Encrypt
To secure the connection, we also need to install Let's Encrypt.
Run these commands to install the necessary dependencies:
apt-get update
apt-get install -y software-properties-common
apt-get install -y letsencrypt
Next, run this command to generate the certificate:
v-add-letsencrypt-host
If you encounter the error Error: Let's Encrypt SSL creation failed, ensure that both Apache and NGINX are temporarily stopped, then try again:
systemctl stop apache2
systemctl stop nginx
v-add-letsencrypt-host
Later you can start apache or nginx again:
systemctl start apache2
service apache2 start
Once the certificate is installed, restart Hestia:
service hestia restart
5. Connect to Hestia
To access Hestia, use the Admin URL you saved during the installation. Typically, it’s your server's hostname or domain (if specified), followed by port 8083:
You will see the login windows. Enter the credentials you saved previously:
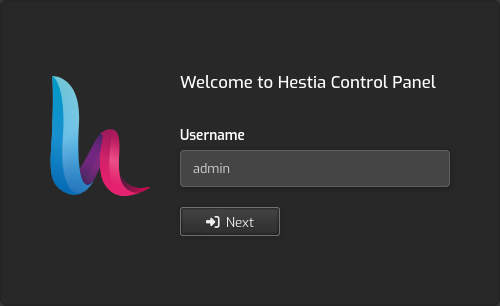
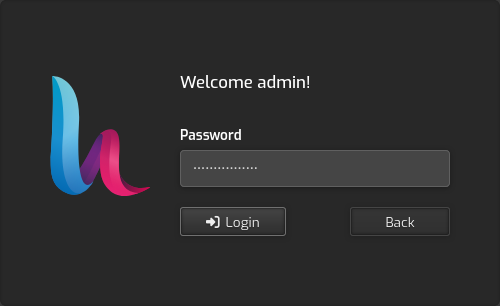
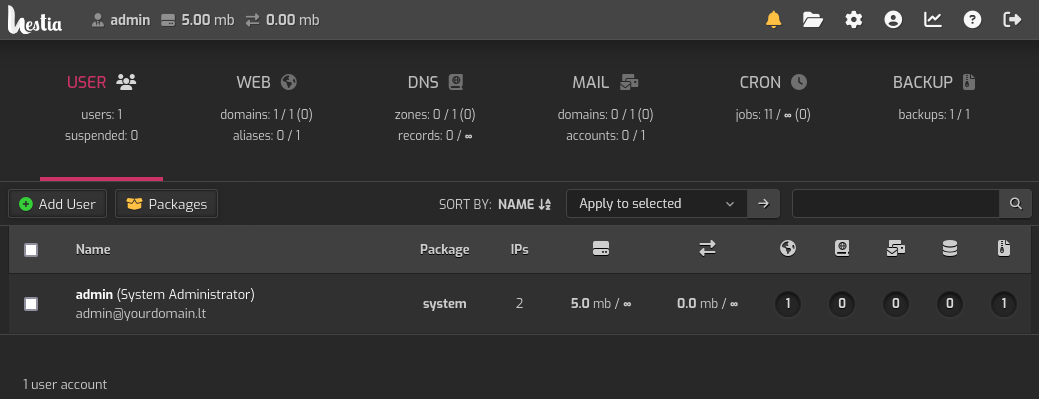
Once you connected, you will see the Hestia dashboard where you can manage your server:
Post-Installation Configuration
1. Change the default admin password
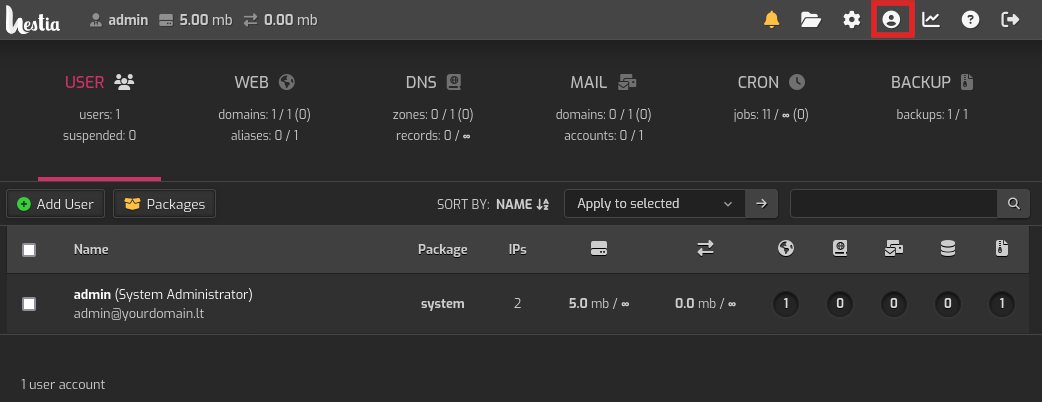
It is highly recommended that the default admin password be changed. Navigate to your account's management page (click the account logo):
In the Password field, you can either generate a new admin password by clicking the "reload" button or manually enter a password that meets all of Hestia's requirements.
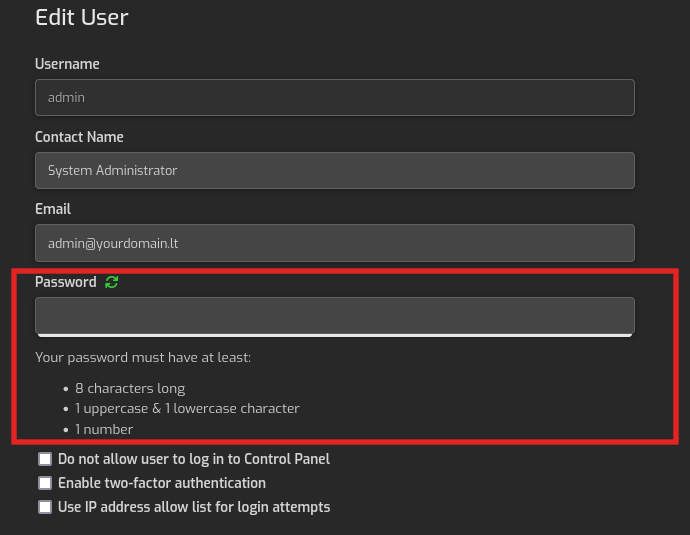
Then click "Save" to apply the changes:

2. Enable Two-Factor Authentication
We also recommend enabling 2FA (Two-Factor Authentication) to enhance the security of your account. You can do this on the same account management page where you changed your password.
Check the box for "Enable two-factor authentication" and click "Save":

A QR code will appear. Scan it with your 2FA app (such as Google Authenticator) to add the new account:
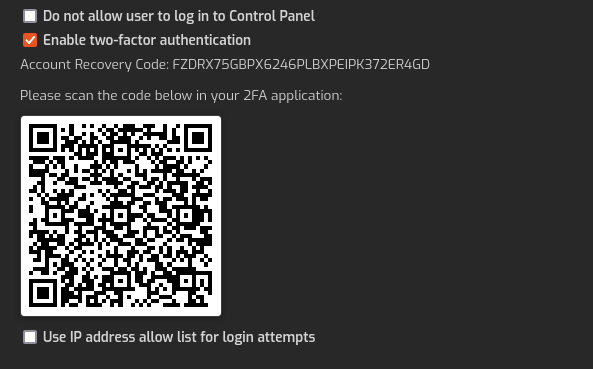
Once set up, you will be able to access your account using both your password and the temporary code generated by your 2FA app on your device.
Please note
You can also configure other security features, but you should be careful to avoid any issues in the future. For example, you can configure allowed IP list:

This feature is used to enhance security by restricting access to the control panel (and other services) to specific IP addresses. When this feature is enabled, only the IP addresses listed in the allow list can attempt to log in to the Hestia panel. This can increase your server security too, but at the same time you need to ensure you have access to the panel from the allowed IP address; otherwise, you could lock yourself out.
So if you want to configure more firewall features on your Hestia control panel, make sure to check official documentation to avoid any potential issues.
Conclusion
Congratulations! You have successfully installed Hestia on your server. With its user-friendly interface and robust features, Hestia provides an efficient way to manage your server, websites, email, and DNS. In this guide, we covered the steps to install Hestia and improve its security by updating the default password and enabling two-factor authentication (2FA). You are now ready to manage your server using the Hestia Control Panel!


