
frame
Howdy, Stranger!
It looks like you're new here. If you want to get involved, click one of these buttons!
Sign In RegisterHowdy, Stranger!
It looks like you're new here. If you want to get involved, click one of these buttons!
Quick Links
Categories
- 1.4K All Categories
- 7.3K General
- 6.2K General Discussions
- 412 Feature Request/Bug Report
- 545 Sales Questions and Answers
- 54 Time4VPS Life
- 242 Help requests
- 244 Server management
- 390 Tutorials
- 68 Various Tutorials
- 71 Web hosting control panels
- 133 Performance and Security
- 29 Web Applications
- 64 Linux Applications
- 25 Windows VPS


How To Install Cloudron on Ubuntu
 Michail
Moderator
Michail
Moderator
Introduction
Cloudron is a platform that makes it easy to install and manage applications on your server (including WordPress, Rocket.Chat, Nextcloud, GitLab and many others). Cloudron automates tasks such as database provisioning, DNS configuration, certificate management, centralized user management, and automated backups.
In this guide we will show you how to install latest Cloudron version on Ubuntu 22.04 and 24.04.
Please note: Cloudron can only be installed on the KVM server (Linux VPS). This guide is not suitable for Container or Storage VPS.
Requirements
OS: Ubuntu 22.04 or Ubuntu 24.04
Virtualiazation: KVM
RAM: Minimum 2 GB
Storage: Minimum 20 GB
Open ports 80 and 443.
You need to create a my. subdomain and point it to your server's IP. This subdomain (my.domain.ltd) will be used to access Cloudron dashboard.
You will also need both the domain's A record and the wildcard A record to be pointed to your server's IP address.
Cloudron supports both IPv4 and IPv6 by default. If you want to set up Cloudron with IPv6, you also need to create an AAAA records for your my. subdomain, main domain and wildcard. If IPv6 support isn't required for you, you can disable it later during the installation process.
Installation Guide
1. Update your system
Update the system by running these commands:
apt update && apt upgrade -y
2. Open ports 80 and 443
Next, you need to allow traffic through ports 80 and 443:
IPtables:
If you use IPtables, run these commands:
iptables -I INPUT -p tcp --dport 80 -j ACCEPT
iptables -I INPUT -p tcp --dport 443 -j ACCEPT
To save the changes you need to install iptables-persistent (if you haven't already):
apt install iptables-persistent
Then run this command:
iptables-save | tee /etc/iptables/rules.v4
UFW:
If you use UFW (Uncomplicated Firewall), run these commands:
ufw allow 80/tcp'
ufw allow 443/tcp'
Then reload the UFW:
ufw reload
3. Install necessary dependencies
Run the following command to install dependencies like curl and bash-completion:
apt install curl bash-completion -y
4. Install Cloudron
To install Cloudron, run these commands:
wget https://cloudron.io/cloudron-setup
chmod +x cloudron-setup
./cloudron-setup
These commands will install Docker, configure the firewall, and install all necessary components. This can take some time.
After installation server has to be rebooted to apply all the settings. You will be asked if you want to reboot the server now. Press "Y" if you agree and the server will reboot.
5. Configure Cloudron
Once installation and reboot completed, launch a web browser and go to https://your_server_hostname (type your actual server's hostname).
Initially, you will encounter a warning regarding potential risks. This is normal, as the Cloudron configuration page is not secured with SSL by default, so you can proceed. SSL will be installed later automatically.
Then you will see the following page:
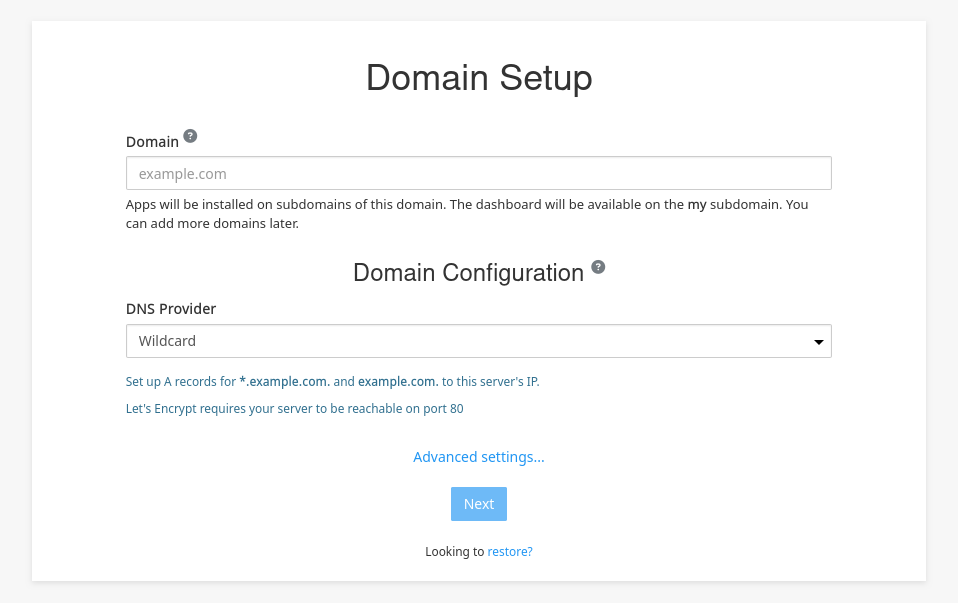
In the first field (Domain), enter your domain. Both domain.tld and *.domain.tld (wildcard) should be pointed to your server's IP address.
Next, you need to choose DNS provider. Cloudron can automatically configure DNS if you are using a supported DNS provider (eg. Cloudflare, DigitalOcean, etc.), so if you are using some of them, please select a provider from the list. Otherwise, choose the Wildcard option.
If you don't need IPv6 support, click "Advanced Settings..." and then select "Disable" from "IPv6 configuration" dropdown menu:
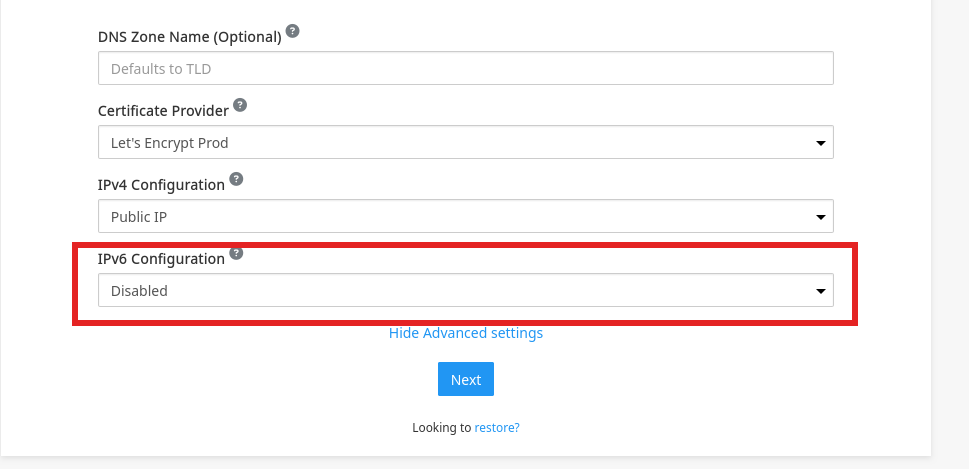
If you need IPv6, make sure your subdomain (my.), main domain and wildcard AAAA records pointed to your server's address.
Click "Next" to continue.
If everything is correct, you will see "Welcome to Cloudron" page:
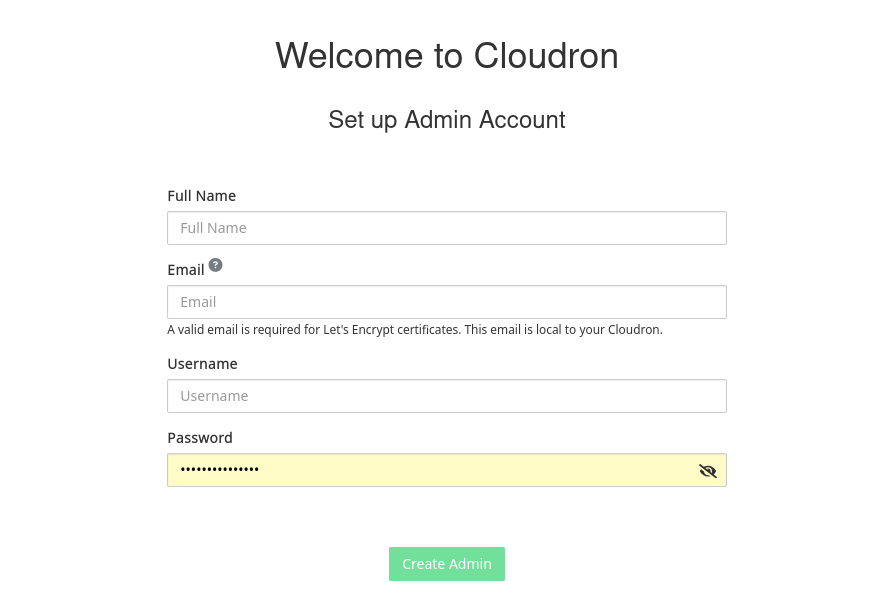
Here you can create your Cloudron user. Type your full name, email, username and password. Then click "Done".
On next page just click "Proceed to Dashboard":
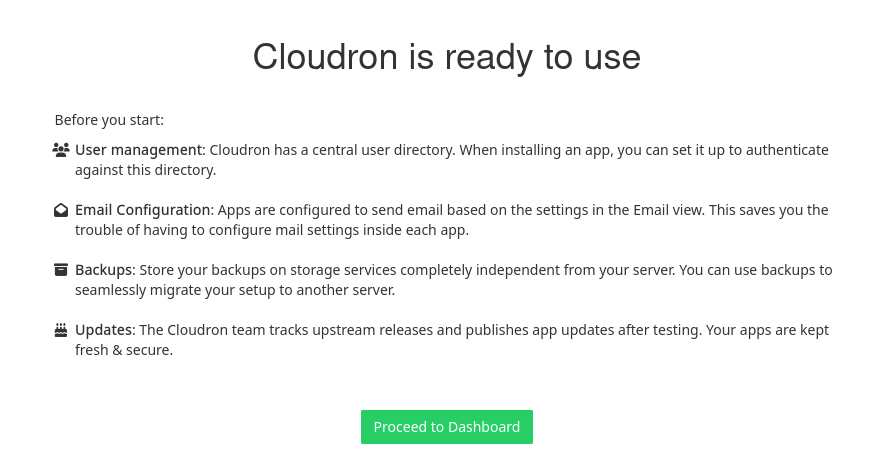
Finally, you will see the Cloudron main dashboard:
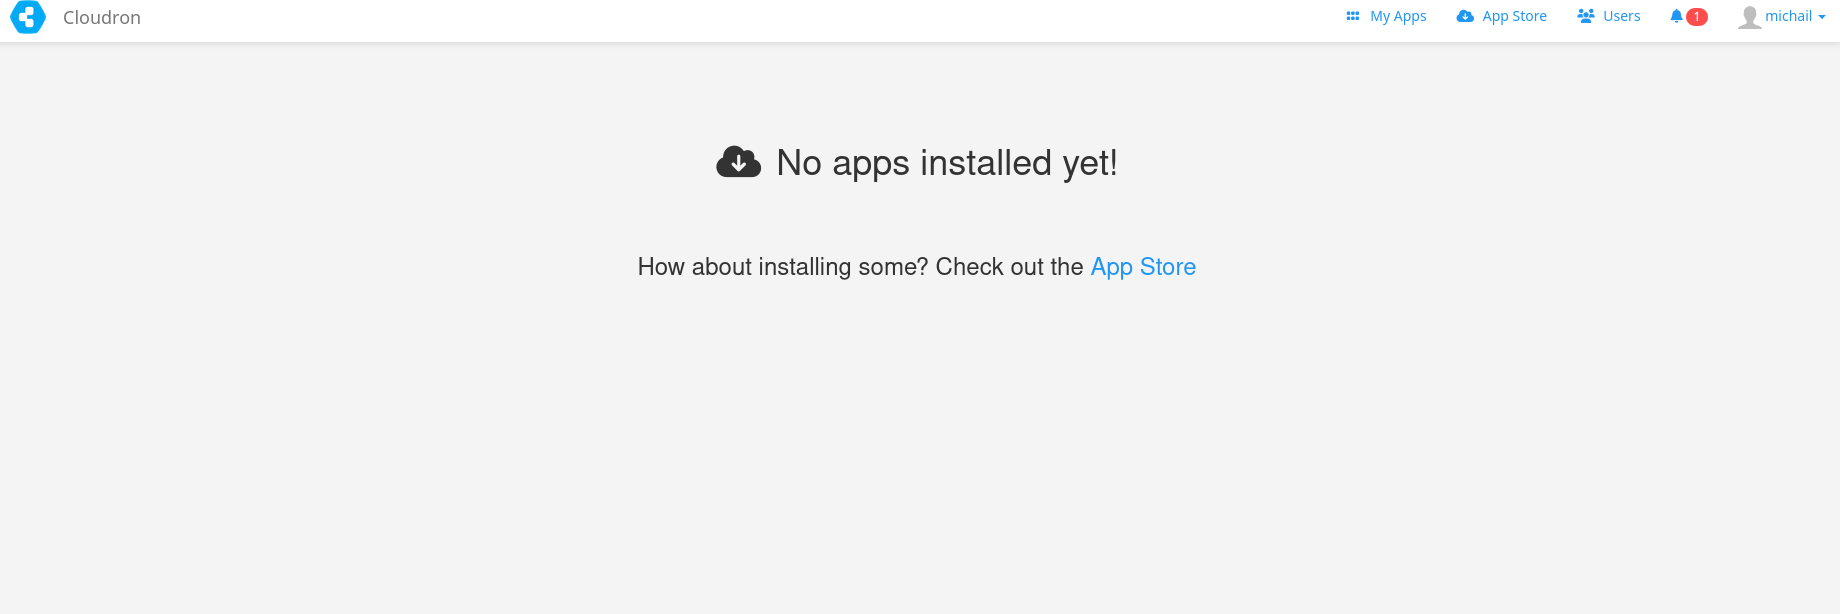
By default, no apps are installed. To install apps, you need to connect to Cloudron.io. Please note that your Cloudron user is separate from your Cloudron.io account, so you’ll need to sign up for Cloudron.io. Registration is free:
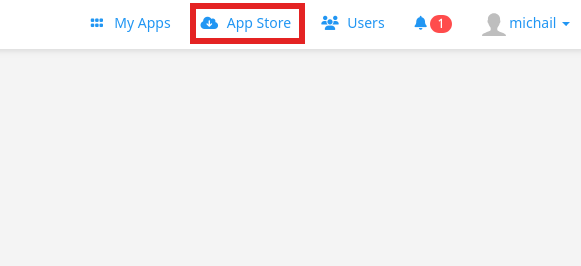
Once you have created an account on Cloudron.io, you can click "App Store" from your dashboard and log in into your Cloudron.io account:
Enter your Cloudron.io credentials:
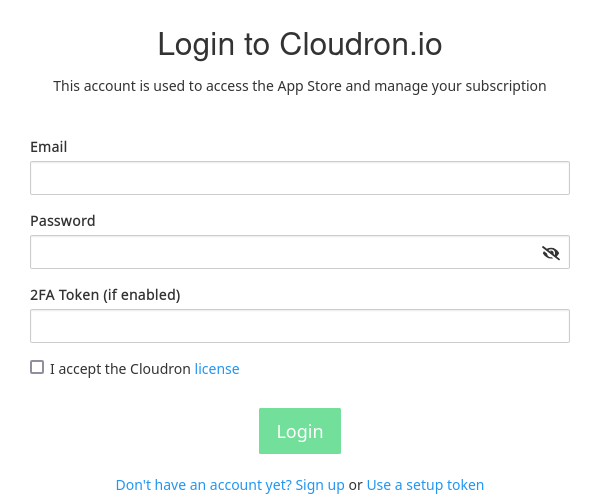
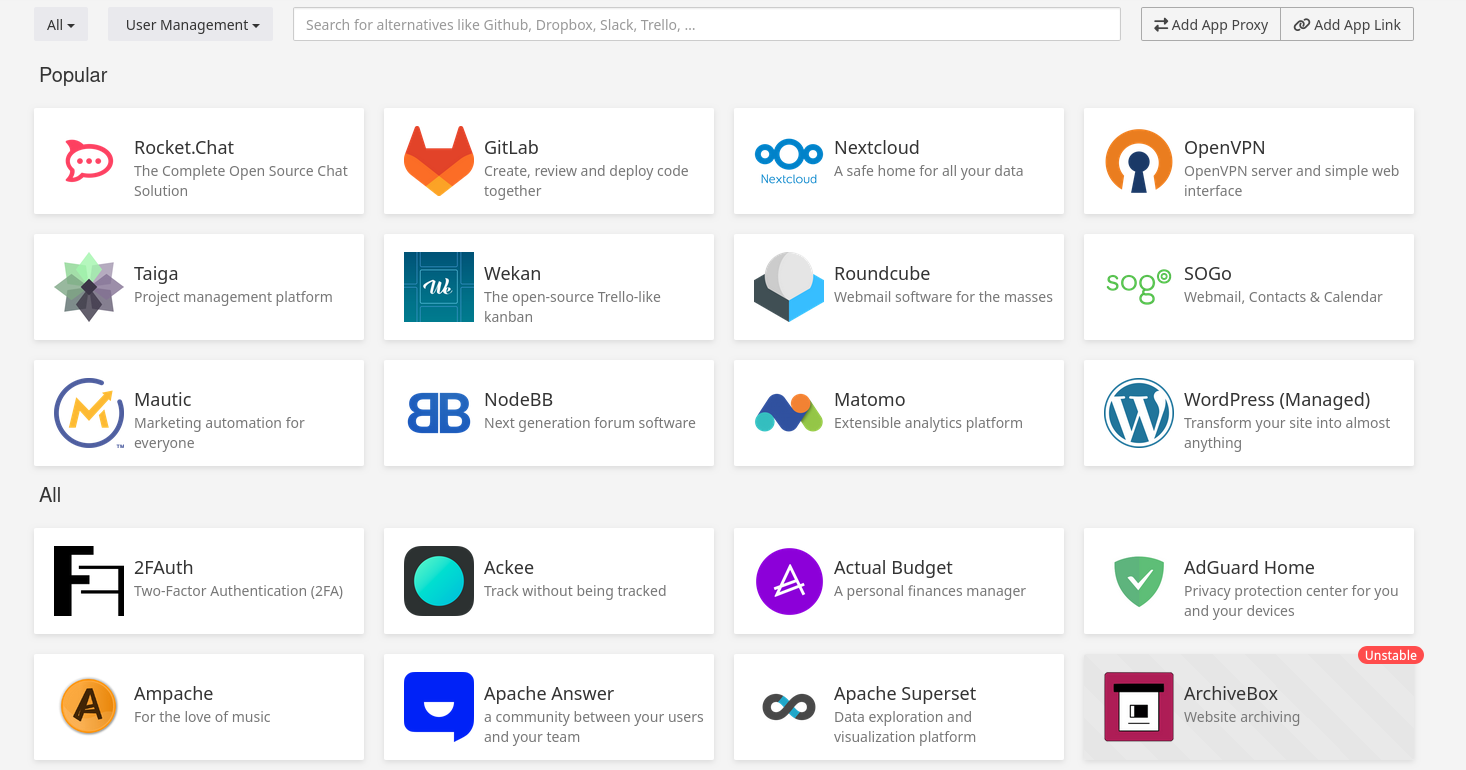
Once you connected to Cloudron.io, you can choose and install app that you want:
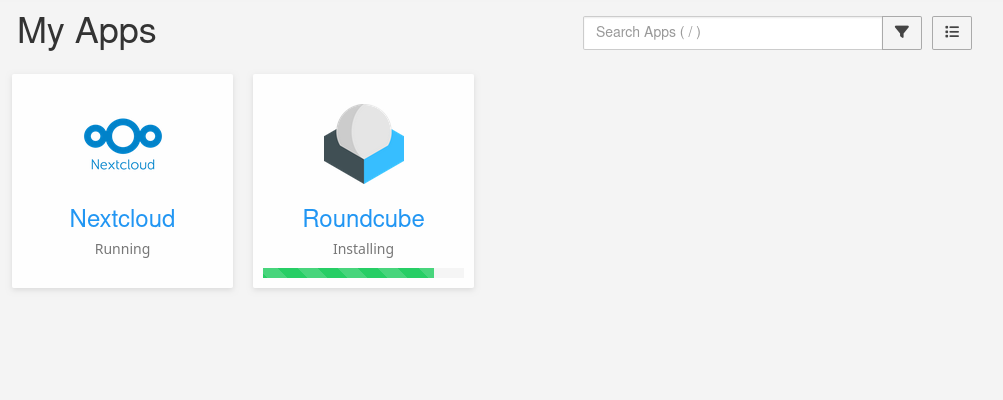
All installed apps will be visible in your main dashboard:
Please note that by default, you can install up to 2 apps on Cloudron. For more details on plans, limitations, and pricing, please visit the official Cloudron website:
foot
Feel free to join our constantly expanding community, participate in discussions, strengthen your knowledge on Linux and Windows server management!
© 2013 - 2025 Time4VPS. All rights reserved.