
frame
Howdy, Stranger!
It looks like you're new here. If you want to get involved, click one of these buttons!
Sign In RegisterHowdy, Stranger!
It looks like you're new here. If you want to get involved, click one of these buttons!
Quick Links
Categories
- 1.4K All Categories
- 7.3K General
- 6.2K General Discussions
- 412 Feature Request/Bug Report
- 545 Sales Questions and Answers
- 54 Time4VPS Life
- 242 Help requests
- 244 Server management
- 390 Tutorials
- 68 Various Tutorials
- 71 Web hosting control panels
- 133 Performance and Security
- 29 Web Applications
- 64 Linux Applications
- 25 Windows VPS


How to install Let's Encrypt on Windows Server
 Michail
Moderator
Michail
Moderator
Introduction
Let's Encrypt is a certificate authority that provides SSL certificates for free. The main idea of Let's Encrypt is to make HTTPS connection encryption available to everyone.
In this guide, we will explain how to install a TLS/SSL certificate from Let’s Encrypt on a Windows Server.
Installation Guide
1. Install IIS
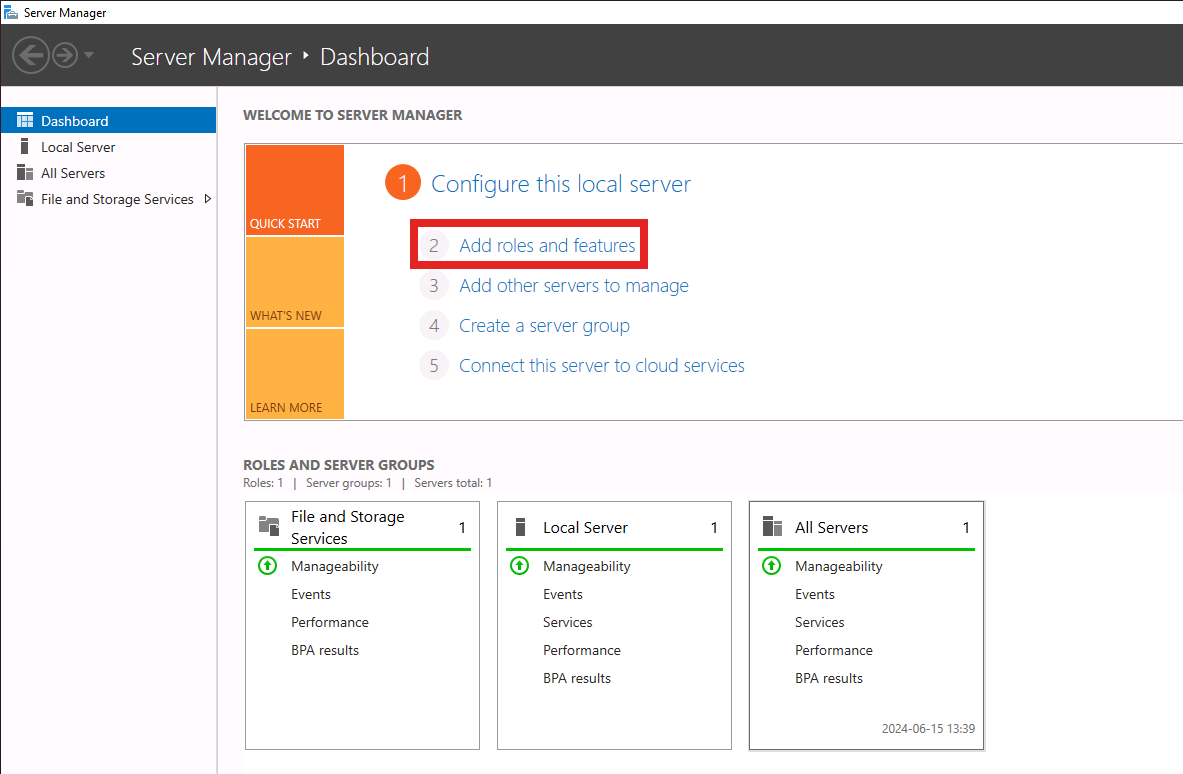
First, search Server Manager in Start menu. Once you open it, click "Add roles and features":
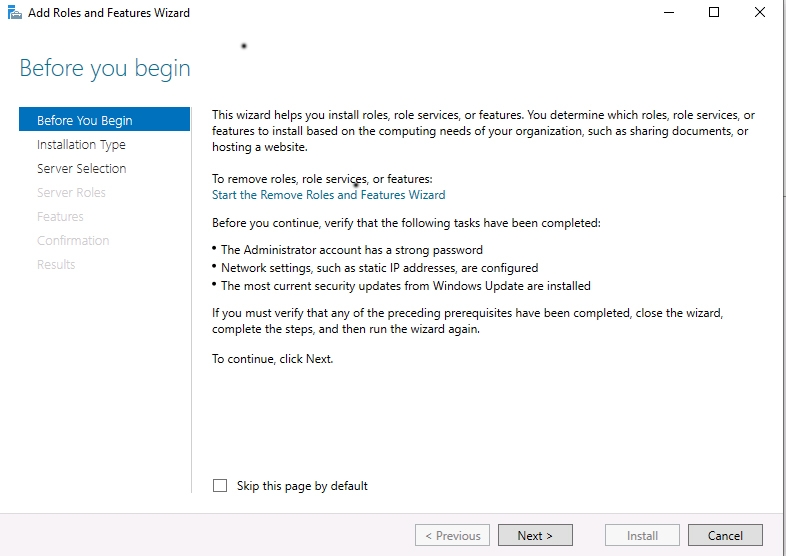
This will open you a tab "Before You Begin" that provides basic information about Add roles and features wizard. You can click "Next" to continue.
****
Next, you need to choose the installation type. Choose "Role based or feature based-installation" and continue by clicking "Next".

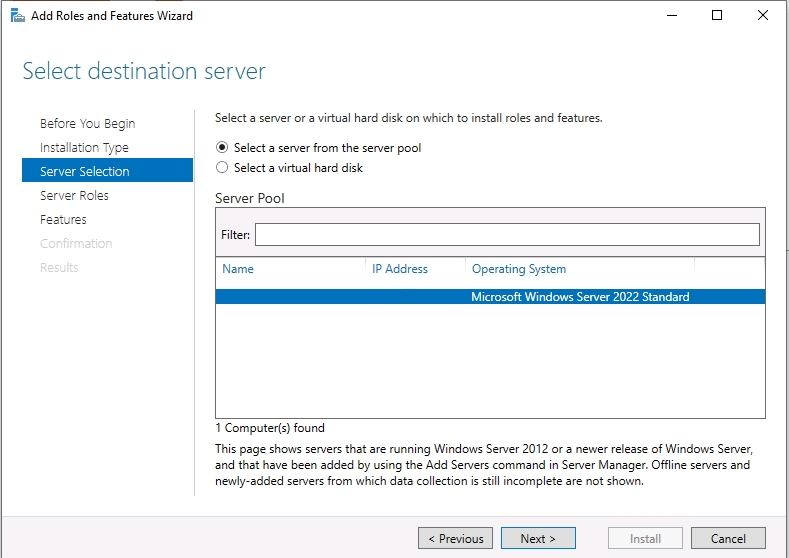
The next step is to select a server. Choose option “Select a server from the server pool”, find your server in the list and click on it.
On the next step, you will be prompted to choose "Server Roles." Find and click “Web Server (IIS)” in the list.
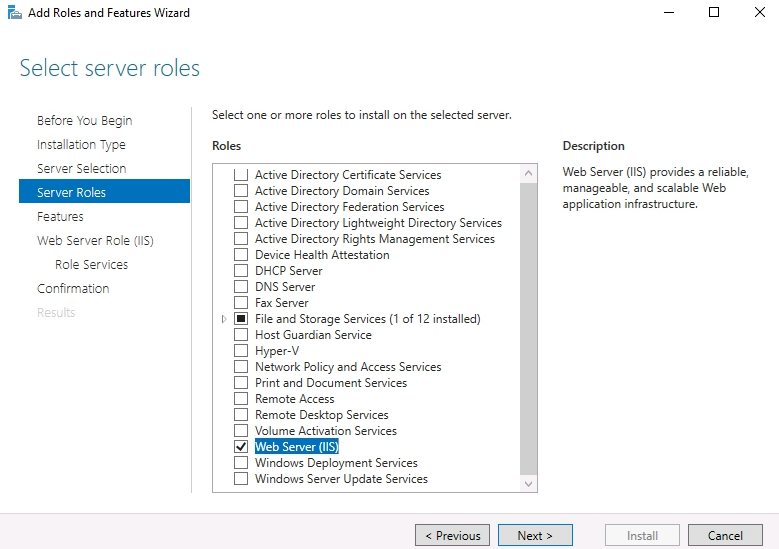
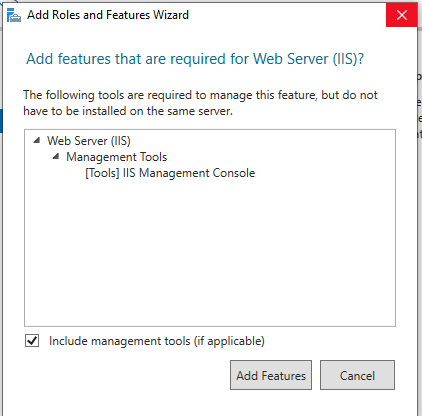
This will open a tab with the required features. You need to leave the default options and click the "Add Features" button. Then, continue by clicking the "Next" button.
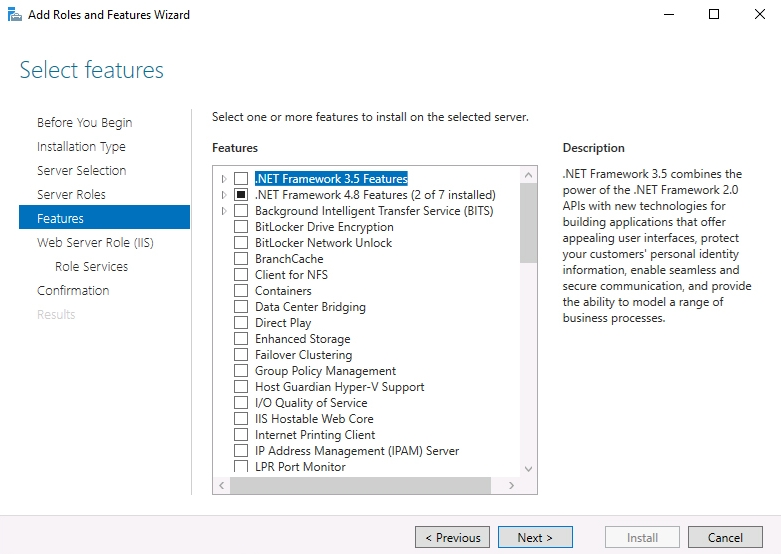
In the next, "Features" tab leave the default options checked and continue:
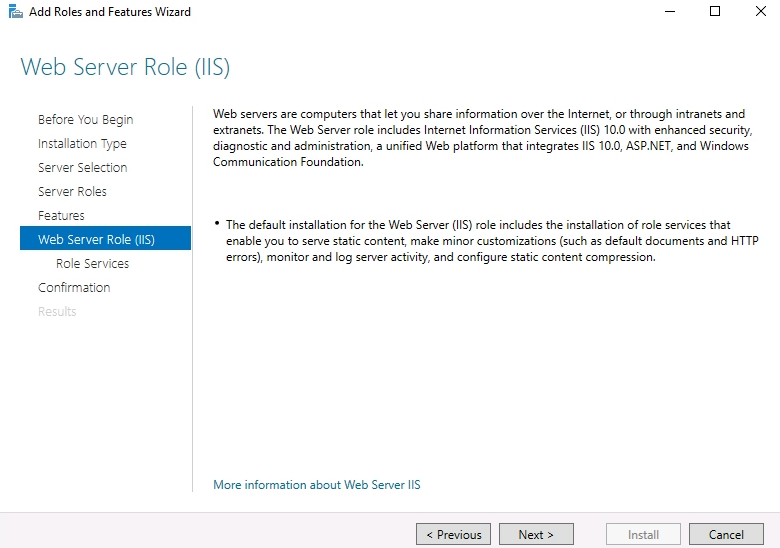
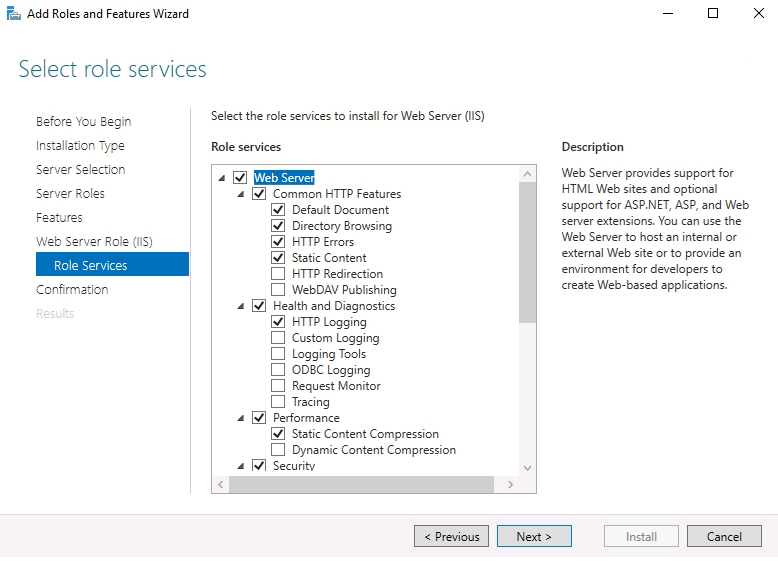
In "Web Server Role" leave default options as well.
Finally, you will see the confirmation.
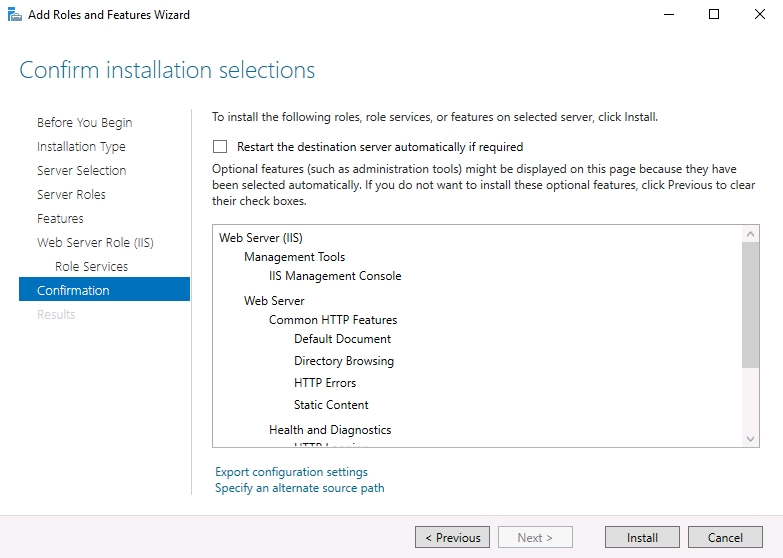
You can recheck all the changes and click "Install" to finish the installation.
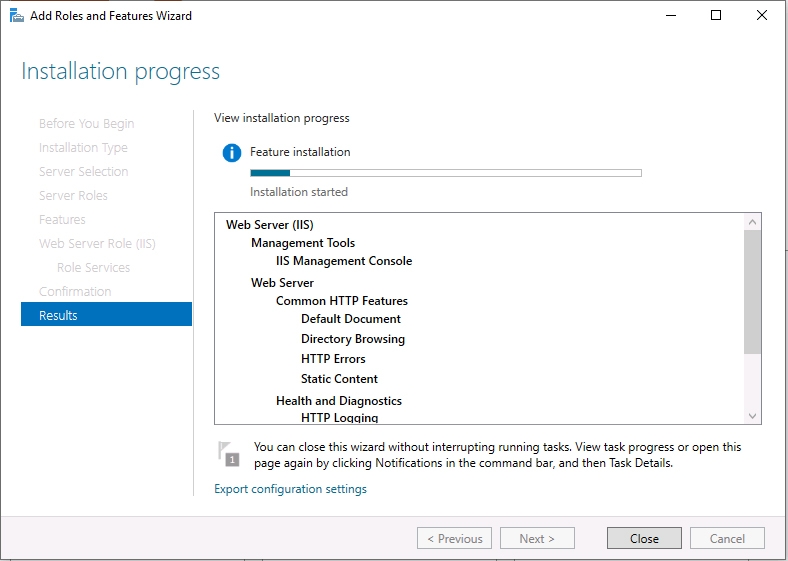
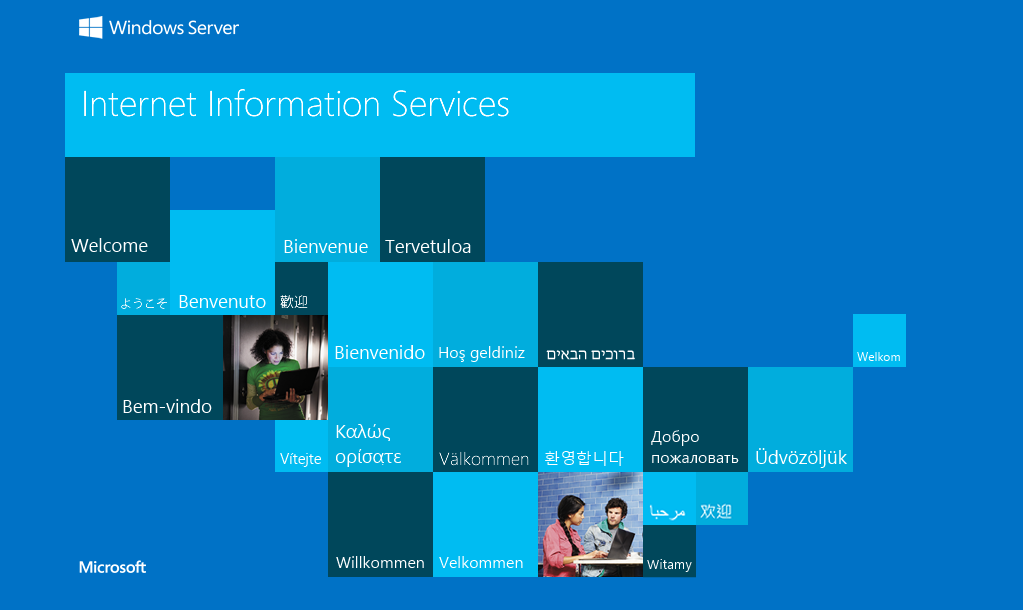
To verify that the installation was completed correctly, you can visit your site in a web browser. You should see the default IIS page:
2. Create a Test site
In this step, we will create a simple test site in order to install and check the Let's Encrypt certificate.
First, navigate to the folder C:\inetpub\ and inside create a new one with your domain.
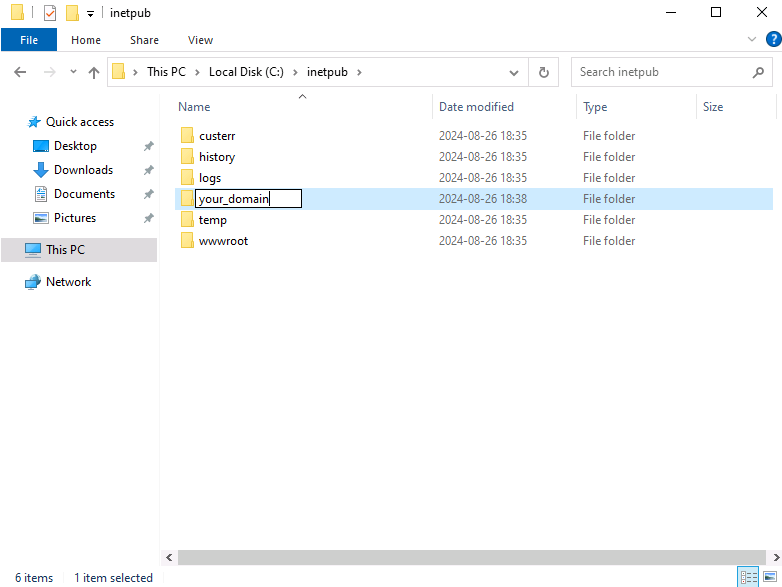
Inside the new folder, create an index.html file.
Open index.html with Notepad and paste the following content:
  <html>
   Page for testing purposes
  </html>
3. Add website to IIS
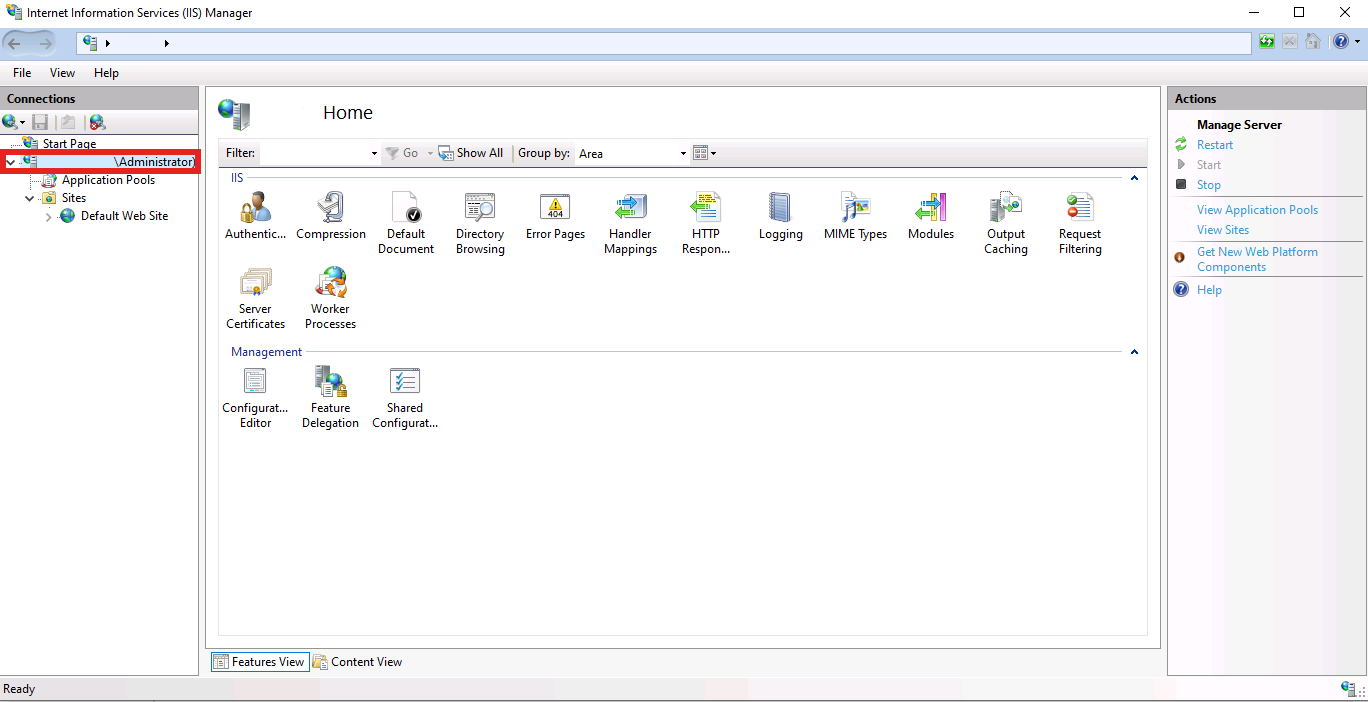
Open IIS (you can find it using the search menu) and click the button below "Start Page" so that the menu opens as shown in this screenshot:
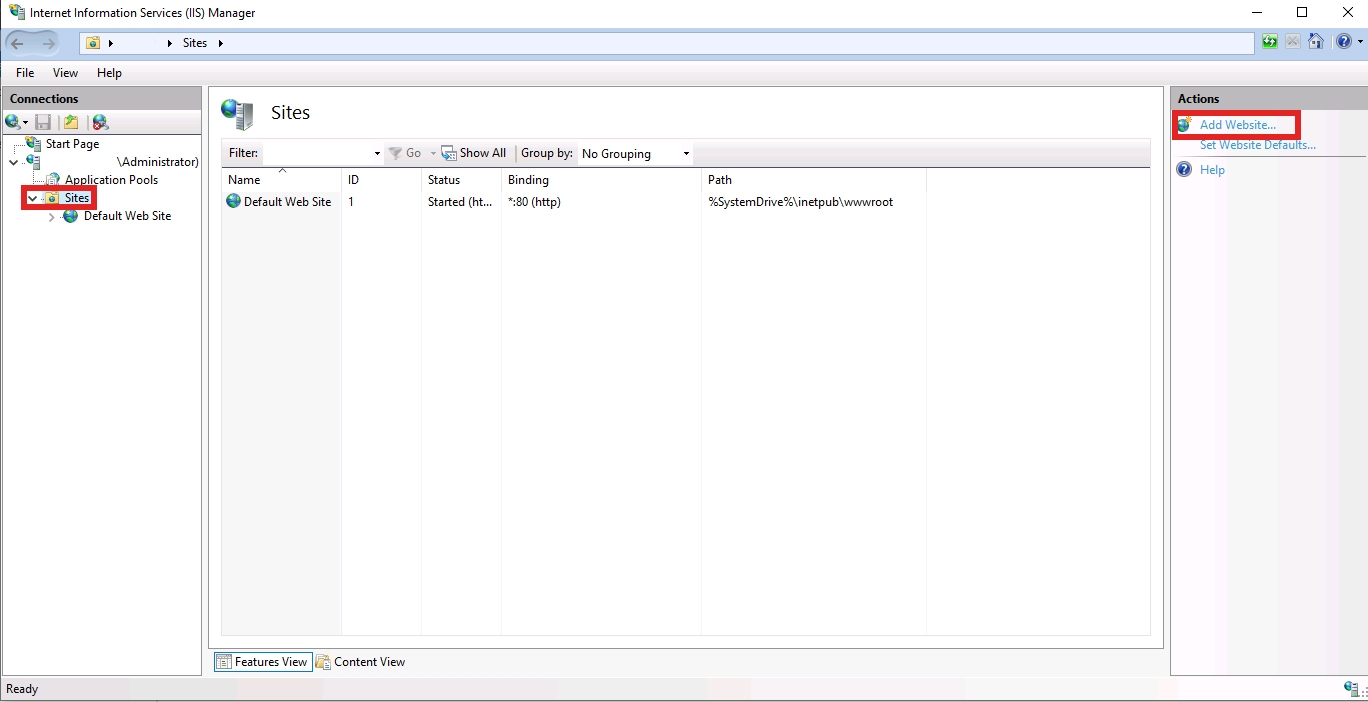
Next, click "Sites". You will see one default website; however, you need to add one more. Click "Add website..." on the right panel.
On "Add Website" tab, enter the following details:
Site name - enter the domain.
Physical path - enter the path of the directory where you created index.html (C:\inetpub\your_domain).
Host name - enter your domain.
Binding - leave as default.
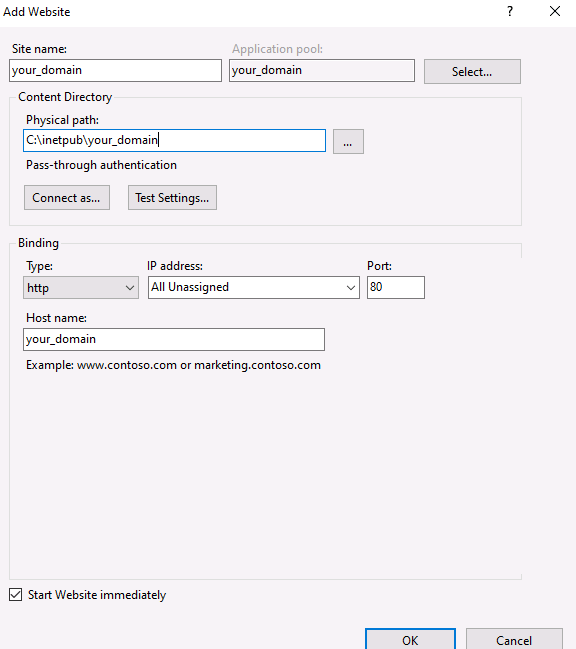
Once you filled all the fields, click "OK".
After that, you can recheck your website. You should see the "Test" page.
4. Download Let’s Encrypt
To download Let's Encrypt, you can use win-acme client, which allows you to install and renew certificates.
You can download the latest version of win-acme here.
Scroll down to select the latest version.

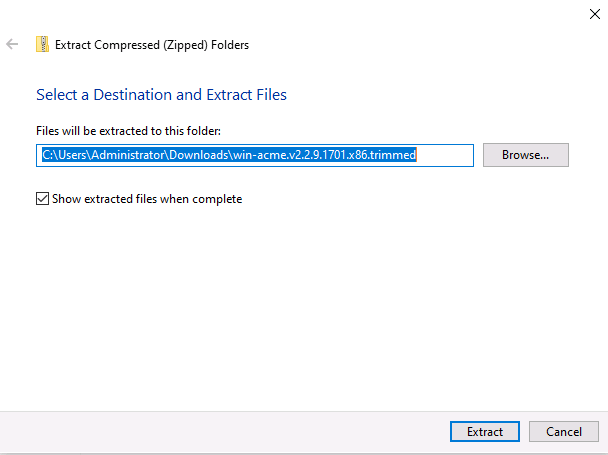
You can choose pluggable or trimmed win-acme. "Pluggable" allows you to download extra plugins, while "trimmed" downloads only the required default plugins and allows you to save space. In this guide, we will select the "trimmed" one (win-acme.v2.2.9.1701.x86.trimmed.zip in our case).
You can extract the files to wherever path you want (click on a file and then "Extract all"):
5. Install Let’s Encrypt Certificate
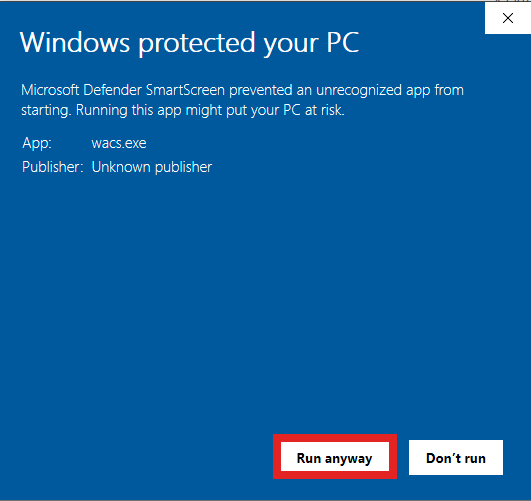
Next, open wacs.exe file. Please note that you will receive a message from Windows about a potentially unprotected file (since we downloaded it from the Internet). You can click "More info" and then "Run Anyway" since wacs.exe is a safe application.
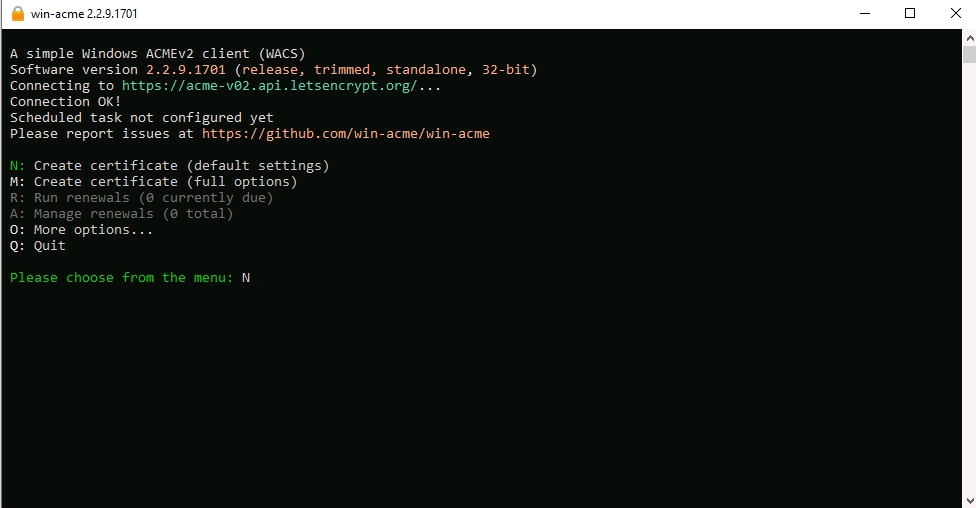
You will see the following window. Type N to generate a new certificate:
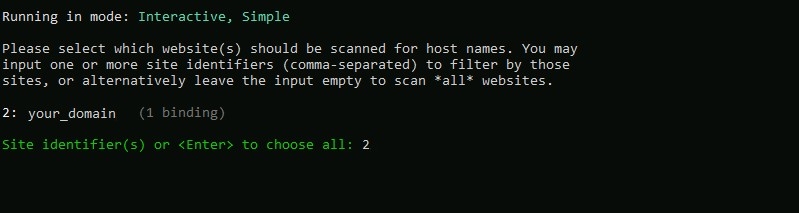
Next, you will be asked to select the website where you want to activate the certificate. Select the number assigned to your site.
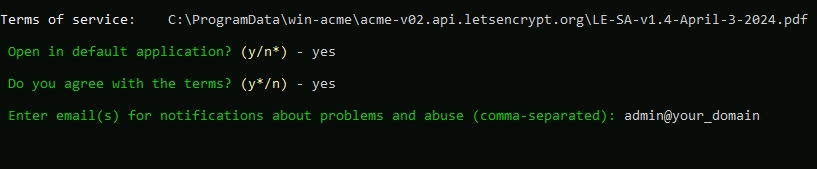
To finish the SSL generation process, agree to the terms and conditions and type the email you want to use to receive notices.
Let's Encrypt should now be enabled for your site. You can recheck it via a web browser. If the website is accessible via HTTPS protocol, everything is correct.
foot
Feel free to join our constantly expanding community, participate in discussions, strengthen your knowledge on Linux and Windows server management!
© 2013 - 2025 Time4VPS. All rights reserved.