
frame
Howdy, Stranger!
It looks like you're new here. If you want to get involved, click one of these buttons!
Sign In RegisterHowdy, Stranger!
It looks like you're new here. If you want to get involved, click one of these buttons!
Quick Links
Categories
- 1.4K All Categories
- 7.3K General
- 6.2K General Discussions
- 412 Feature Request/Bug Report
- 545 Sales Questions and Answers
- 54 Time4VPS Life
- 242 Help requests
- 244 Server management
- 390 Tutorials
- 68 Various Tutorials
- 71 Web hosting control panels
- 133 Performance and Security
- 29 Web Applications
- 64 Linux Applications
- 25 Windows VPS


How to install Git on Windows Server 2022 and 2019
 Michail
Moderator
Michail
Moderator

Introduction
Git is a special program that allows you to track any changes in files, store their versions and quickly return to any saved state.
Most other version control systems store information as a list of changes in files. Git works differently - it stores more of a set of snapshots - a complete representation of what the file looks like when it is saved. This allows you to always have complete information about all files and quickly restore any of the previous versions.
In this tutorial, we will install Git on Windows Server 2022 and Windows Server 2019.
Installation Guide
1. Download Git
First, you need to navigate to the official Git website and download the setup for Windows:

In this tutorial, we will install Git version 2.45.1, which is the latest version at the time of writing this Guide. However, this tutorial applies to all versions.
2. Launch Git installer
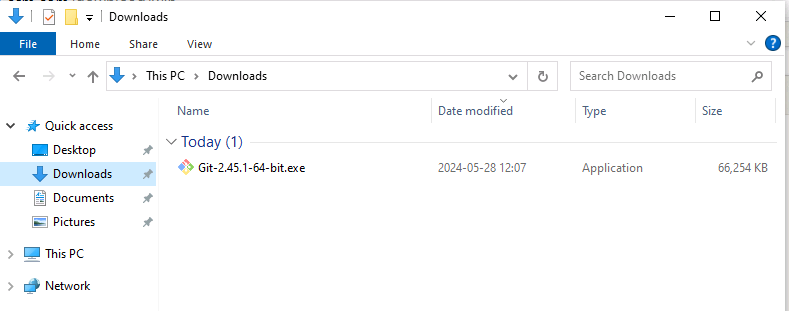
Open the "Downloads" folder and double-click the Git installer file to launch it.
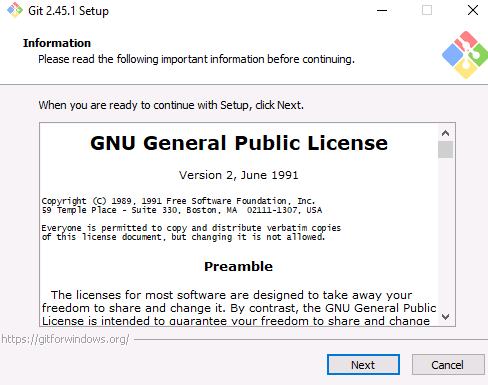
First, it will provide you with information about the GNU General Public license. You can continue by clicking "Next":
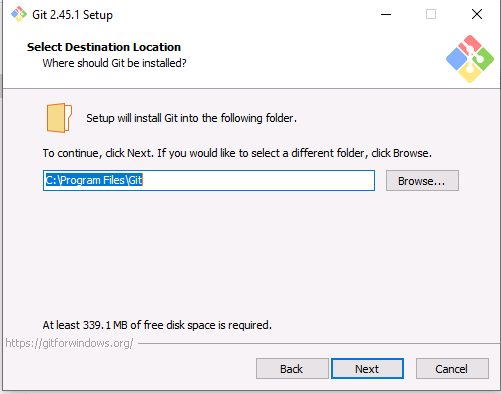
Next, select the folder for Git setup. The default path is C:\Program Files\Git:
3. Select installation options
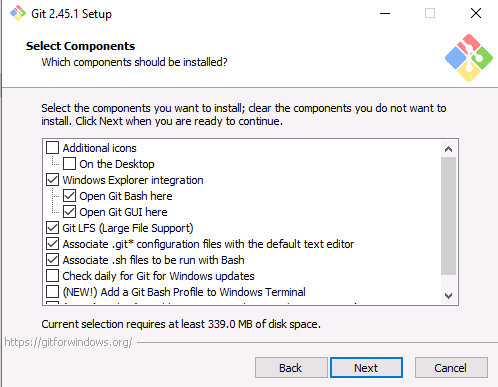
During installation, you will be asked to select various options. It is recommended to select the default options unless you are very familiar with Git and need some custom settings.
First, you will be asked to select components. Just leave the components that are selected by default and click "Next":
Then choose where you want Git to place the program's shortcut. You can leave it as default if you don't have a specific folder for it:

Now you need to select your default Git editor. You can use Vim, which is selected by default, or choose your preferred editor, but you will need to install it additionally.

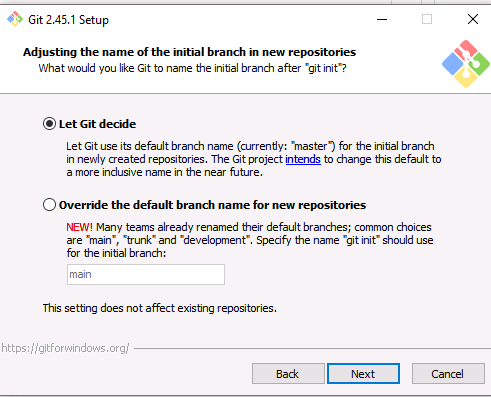
After that you will be asked to adjust the name of the initial branch in new repositories. It is recommended to choose the default option "Let Git decide":
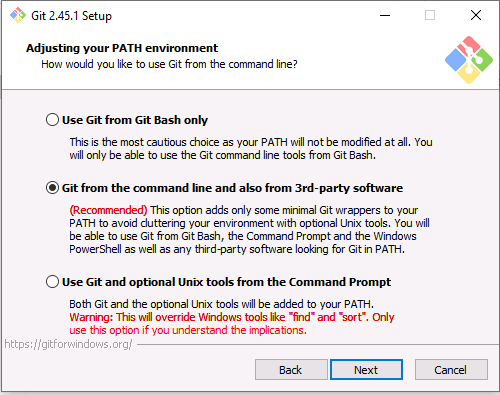
Next, select the recommended option "Git from the command line and also from 3rd-party software":
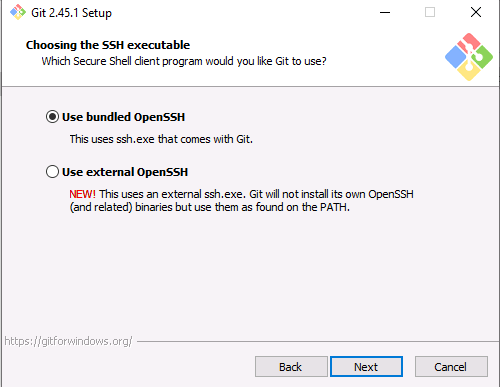
The next step is to select the SSH executable. It is recommended to select the default ssh.exe that comes with Git, so choose "Use bundled OpenSSH" and continue:
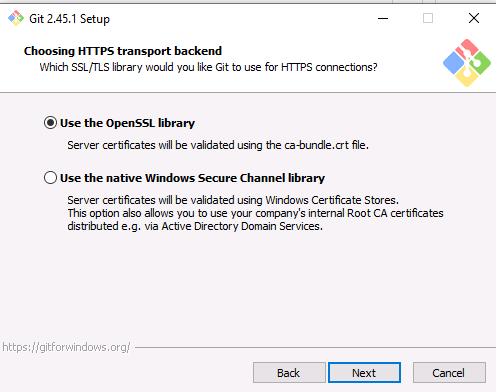
Then you need to select SSL/TLS library for HTTPS connections. Select the default option and click "Next":
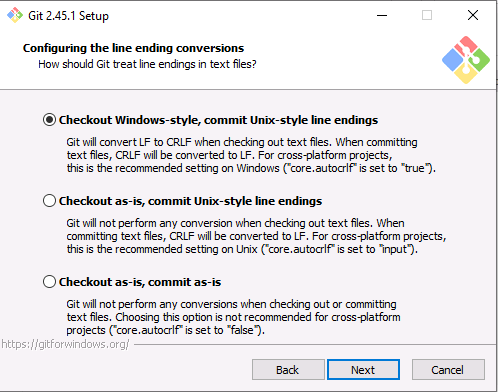
Next, select the default option for line-ending conversion in Git:
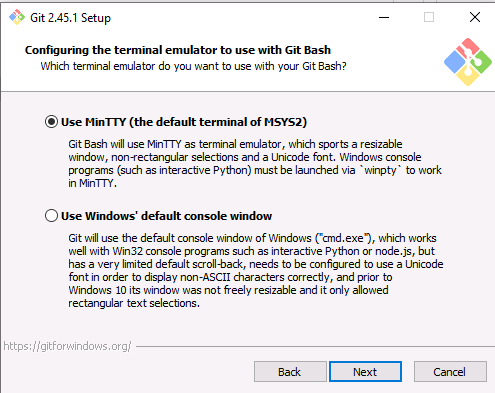
You also need to select a terminal emulator. You can select the default MinTTY terminal and continue:
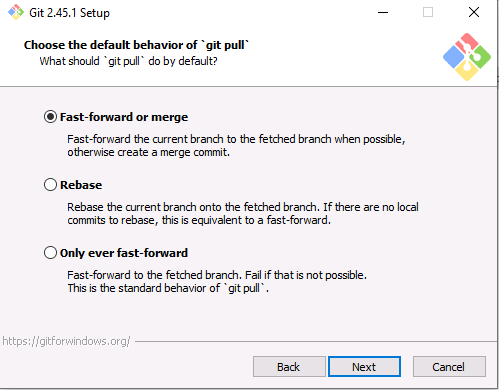
Next, choose the default option for the behavior for the ‘git pull’:
 .
.
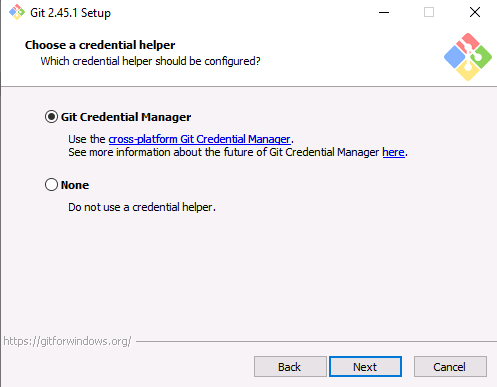
You also need to specify the credential helper. Select the default option and continue:
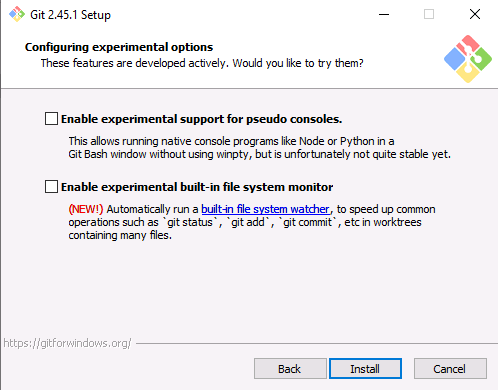
You will be also asked if you want to configure experimental options. We recommend you just ignore this and click "Install":
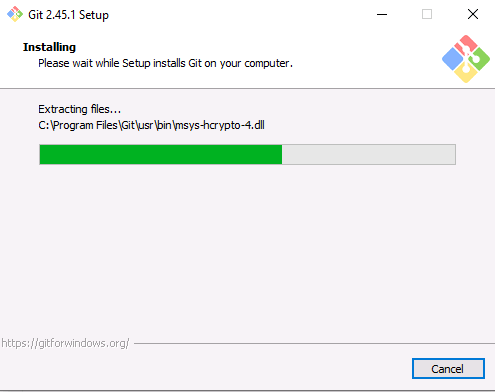
This was the last step, so now wait for the installation to complete:
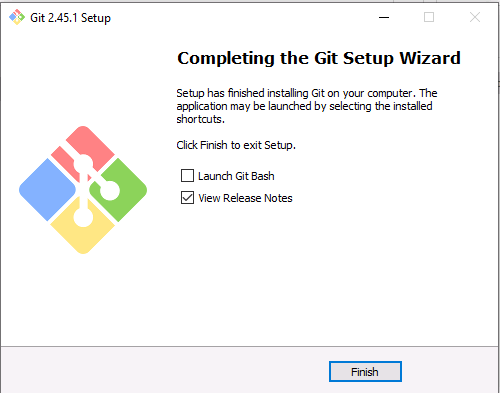
Once completed, click "Finish":
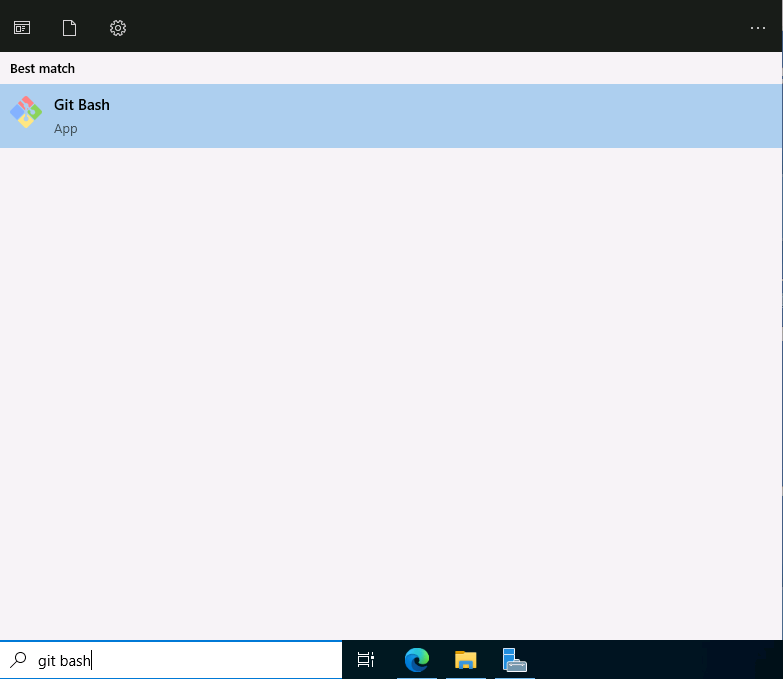
4. Launch Git
Use the Windows search bar to find and launch Git bash:
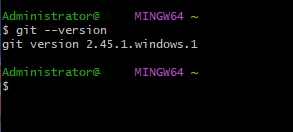
Inside you can check the installed version of git:
git --version
To use git, you need to specify a username and email. Run the following commands (enter your actual username and email address):
git config --global user.name "username"
git config --global user.email "[email protected]"
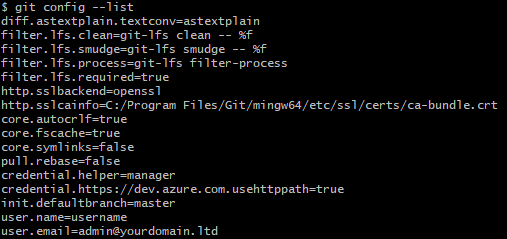
You can check the entered information using this command:
git config --list
Conclusion
That's all! Git has been successfully installed on your Windows server and is ready to use.
You can find more information about Git on the official website.
foot
Feel free to join our constantly expanding community, participate in discussions, strengthen your knowledge on Linux and Windows server management!
© 2013 - 2025 Time4VPS. All rights reserved.