
frame
Howdy, Stranger!
It looks like you're new here. If you want to get involved, click one of these buttons!
Sign In RegisterHowdy, Stranger!
It looks like you're new here. If you want to get involved, click one of these buttons!
Quick Links
Categories
- 1.4K All Categories
- 7.3K General
- 6.2K General Discussions
- 412 Feature Request/Bug Report
- 545 Sales Questions and Answers
- 54 Time4VPS Life
- 242 Help requests
- 244 Server management
- 390 Tutorials
- 68 Various Tutorials
- 71 Web hosting control panels
- 133 Performance and Security
- 29 Web Applications
- 64 Linux Applications
- 25 Windows VPS


How to Install Laravel on Ubuntu
 Michail
Moderator
Michail
Moderator

Introduction
Laravel is a free and open source PHP framework that is used to create web applications. It is based on the Model-View-Controller (MVC) pattern and offers a wide range of features that make the development process faster, easier and more convenient. Laravel remains one of the most popular PHP frameworks due to its flexibility, large community and regular updates. It offers developers easy-to-use tools for authentication, routing, database management, and more.
In this guide, we will show you how to install Laravel on Ubuntu (from Ubuntu 16.04 onwards).
1. Update system
To update system repositories, run the following command:
apt update
If there any packages that can be upgraded, run this command:
apt upgrade
2. Install Apache
To run Laravel, you need to configure Apache on your server. Run the following command to install it:
apt install apache2
After installation is completed, make sure to start Apache:
systemctl start apache2
Verify Apache is enabled by checking the status:
systemctl status apache2
3. Create database
We also need to create a database for Laravel. If you haven't installed MySQL previously, run the following command:
apt install mysql-server
Then connect to MySQL as root (the default password is empty so just press Enter):
mysql -u root -p
Now create a new database for the Laravel:
CREATE DATABASE my_laravel;
Then create database user (type username that you want instead of your_user) and specify password for it:
CREATE USER 'your_user'@'localhost' IDENTIFIED BY 'user_password';
Grant all root user access to this user:
GRANT ALL ON laravel_db.* TO 'your_user'@'localhost';
Exit from MySQL:
exit
4. Install PHP
PHP is also required for Laravel. Run the following command to install PHP and its extensions:
apt install php libapache2-mod-php php-mbstring php-cli php-bcmath php-json php-xml php-zip php-pdo php-common php-tokenizer php-mysql
Next, install PHP curl:
apt-get install php-curl
To check if PHP was installed on your server, run the following command:
php --version
5. Install Composer
Next, we need to install Composer which is package manager for PHP. Run this command:
curl -sS https://getcomposer.org/installer | php
Now you need to move the downloaded file to the usr/local/bin/:
mv composer.phar /usr/local/bin/composer
Give the composer execute rights:
chmod +x /usr/local/bin/composer
To check if Composer was installed, run this command:
composer --version
6. Install Laravel
Change the working directory to the /var/www/html:
cd /var/www/html
Install the Laravel with the following command:
composer create-project laravel/laravel laravelapp
7. Adjust Laravel permissions
Now you need give the "laravelapp" directory ownership of the web server:
chown -R www-data:www-data /var/www/html/laravelapp
Set appropriate permissions:
chmod -R 775 /var/www/html/laravelapp/storage
8. Check Laravel
To verify Laravel installation first navigate to the Laravel directory:
cd laravelapp
Then run the following command:
php artisan
You should see the output that will provide you information about installed Laravel version (version may differ depending on Ubuntu version):

Configure Apache with Laravel
If you want to host your site with Laravel, you need to configure Apache. First, open the laravel.conf file:
vi /etc/apache2/sites-available/laravel.conf
Paste these lines to the file (change yourdomain.ltd to your actual domain):
<VirtualHost *:80>
ServerName yourdomain.ltd
ServerAdmin [email protected]
DocumentRoot /var/www/html/laravelapp/public
<Directory /var/www/html/laravelapp>
AllowOverride All
</Directory>
ErrorLog ${APACHE_LOG_DIR}/error.log
CustomLog ${APACHE_LOG_DIR}/access.log combined
</VirtualHost>
After editing, you can save changes and exit (press "Esc", type :wq and click "Enter").
Next, run this command:
a2ensite laravel.conf
It will ask you to reload the apache, so run next run this command:
systemctl reload apache2
Next, run the following command:
a2enmod rewrite
It will ask you to restart apache, so run the following:
systemctl restart apache2
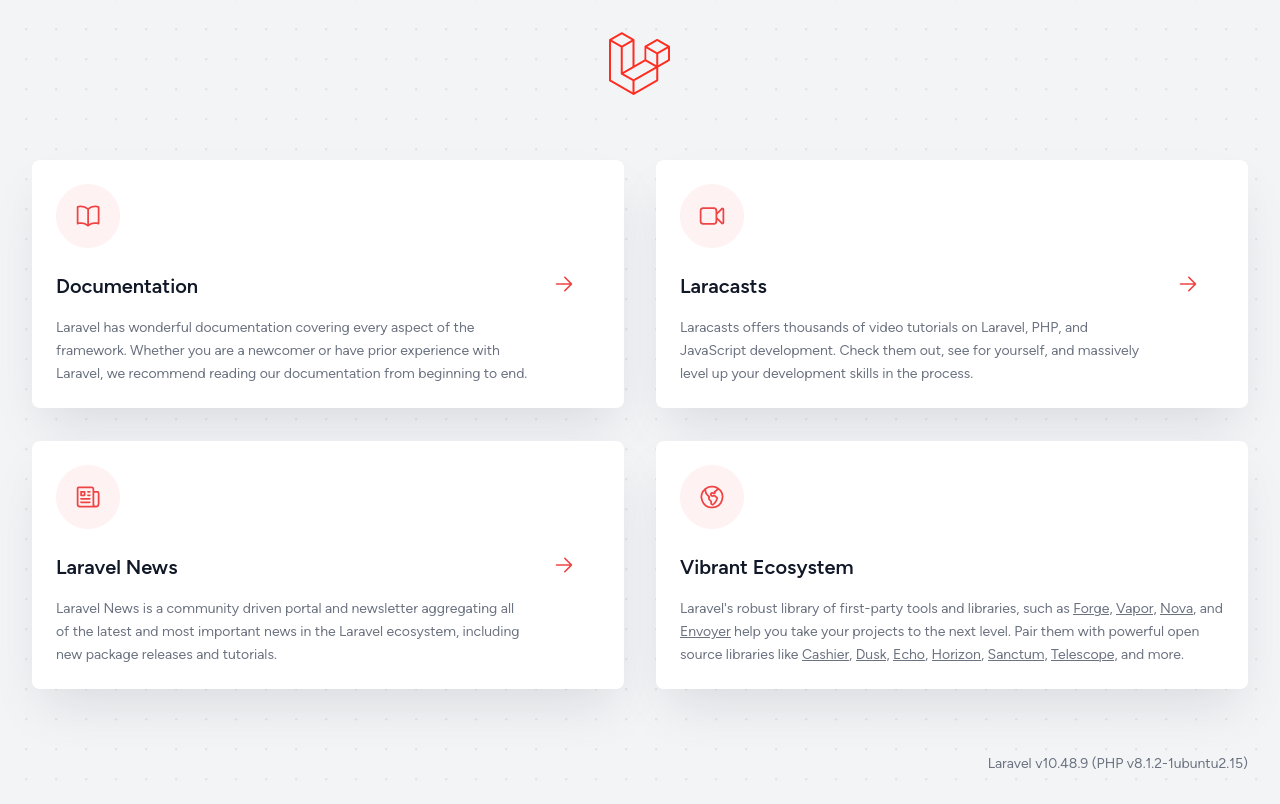
After you configured Apache to host Laravel, simply enter your domain in the web browser and it should open you the default Laravel page (the page view may differ depending on the version of Ubuntu):
How to remove Laravel
In case you want to remove Laravel, you need to remove created composer project by executing this command:
rm /usr/local/bin/composer
Afther that Laravel will be removed from your server.
foot
Feel free to join our constantly expanding community, participate in discussions, strengthen your knowledge on Linux and Windows server management!
© 2013 - 2025 Time4VPS. All rights reserved.