frame
Howdy, Stranger!
It looks like you're new here. If you want to get involved, click one of these buttons!
Sign In RegisterHowdy, Stranger!
It looks like you're new here. If you want to get involved, click one of these buttons!
Quick Links
Categories
- 1.4K All Categories
- 7.3K General
- 6.2K General Discussions
- 412 Feature Request/Bug Report
- 545 Sales Questions and Answers
- 54 Time4VPS Life
- 242 Help requests
- 244 Server management
- 390 Tutorials
- 68 Various Tutorials
- 71 Web hosting control panels
- 133 Performance and Security
- 29 Web Applications
- 64 Linux Applications
- 25 Windows VPS
[Webmin] Getting started with Webmin
 Lawrence
Member

Introduction
Webmin is a web-based system configuration tool for Unix-like systems. With it, it is possible to configure operating system internals, such as users, disk quotas, services or configuration files, as well as modify and control open source apps, such as the Apache HTTP Server, PHP or MySQL.
Webmin is largely based on Perl, running as its own process and web server. It defaults to TCP port 10000 for communicating, and can be configured to use SSL if OpenSSL is installed with additional required Perl Modules.
More information can be found on official web page:
http://www.webmin.com/
Webmin template
In Time4VPS you are able to install Webmin template really easy and fast, only with few mouse clicks:
- Login to the Client Area;
- Select at the top of menu the "My Services > VPS" tab;
- Press the "Manage" button at the service table;
- Press the "Install OS" button;
- Choose operating system, agree with warning and press "Continue";
- Wait for 5-10 minutes and refresh VPS management page.
- CentOS 7
- Apache 2.4.6
- PHP 5.4.16
- MySQL 5.5.64
1. Login
Webmin uses 10000 port, so to connect to control panel on your internet browser enter:
http://ip_of_your_server:10000
Login details are your server's "root" login details, which you can find on Clients Portal.


2. Adding New Website
On the left menu choose "Create Virtual Server".
Enter domain, description, password, change additional configurations (if needed) and finally press "Create server".

3. E-mail accounts and FTP users
Adding a new site will create a new menu items which enables to create and manage users and settings.
To add an email account or FTP user, select:
Edit Users > Add a user to this serverWhen creating user, specify the email address, username and password.
Under "Quota and home directory settings, you can specify the size of the email account.
Under "E-mail settings" you can add additional e-mail addresses.
Under "Mail forwarding settings" you can create forwarding and auto-reply message.
Finally under "Other user permissions" you can specify if user should have FTP and MySQL database access or not.
For both FTP and email accounts login name is "[email protected]".

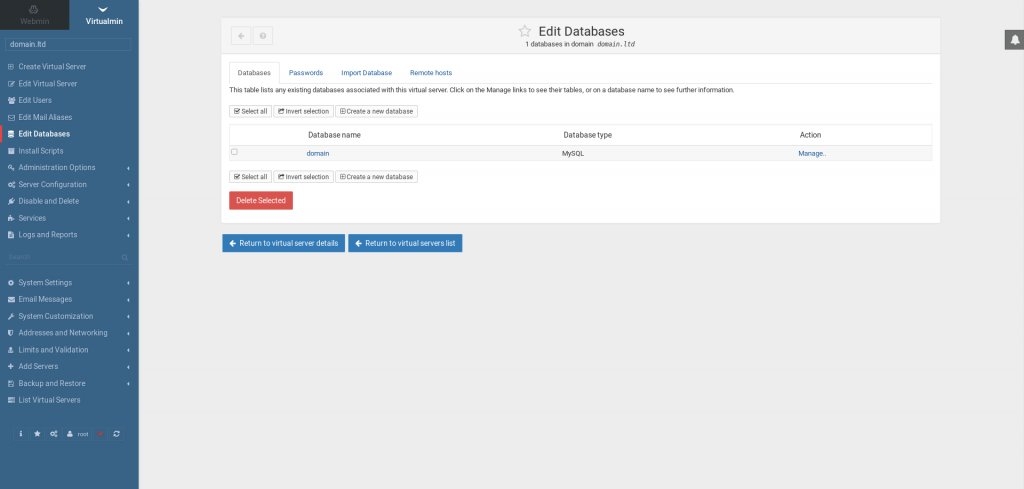
4. MySQL data base
To add a new MySQL database, select the menu item:
Edit Databases > Create a new databaseJust enter the name of the DB and click on the "Create" button.

5. DNS managment
DNS Management is done over "Webmin" section of the control panel.
Servers > Bind DNS ServerHere you can configure the Bind DNS service of your control panel. In this menu you can create the default DNS zones or adjusting the already created ones, together with managing the whole Bind DNS service configuration.

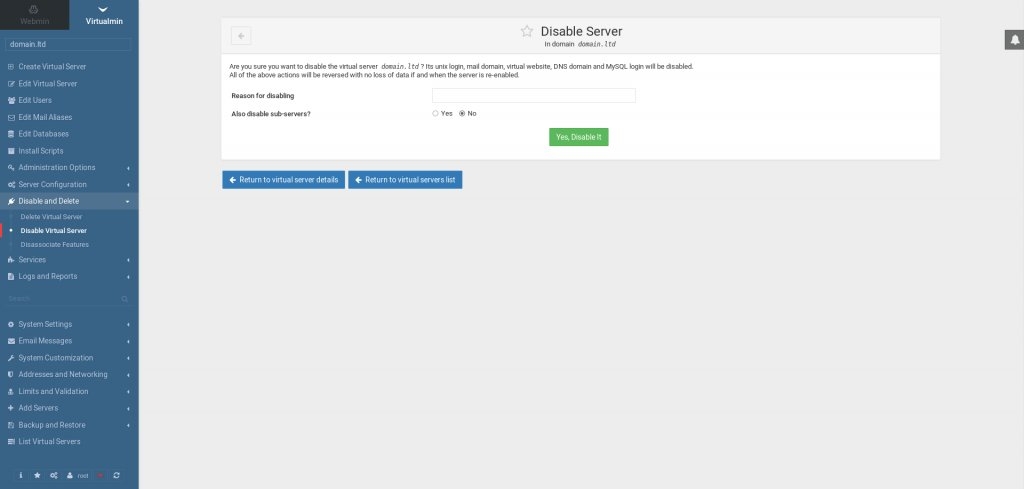
6. Temporary website's suspension
To suspend a site, select the menu item:
Disable and Delete > Disable Virtual ServerEnter the reason for the suspension, and then press "Yes, disable it!". The site will be suspended until you unsuspend it.

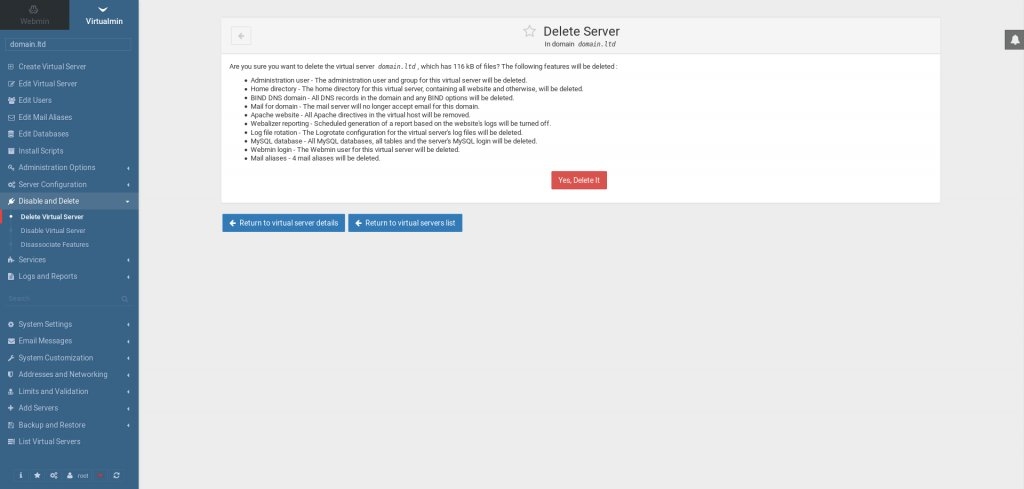
7. Site removal
To remove the site and all the related records, select:
Disable and Delete > Delete Virtual ServerClicking "Yes, delete it" will remove all files belonging to the site, users, email accounts and databases.

8. Password reset
In order to change your "root" password for Webmin you need to log in to your server via SSH and proceed with the following command:
/usr/libexec/webmin/changepass.pl /etc/webmin root yournewpassword
Where "yournewpassword" should be replaced with your password. If you did everything correctly, you should see the following result:
Updated password of Webmin user rootYou can find much more about Webmin control panel here.
Tagged:


