
frame
Howdy, Stranger!
It looks like you're new here. If you want to get involved, click one of these buttons!
Sign In RegisterHowdy, Stranger!
It looks like you're new here. If you want to get involved, click one of these buttons!
Quick Links
Categories
- 1.4K All Categories
- 7.3K General
- 6.2K General Discussions
- 412 Feature Request/Bug Report
- 545 Sales Questions and Answers
- 54 Time4VPS Life
- 242 Help requests
- 244 Server management
- 390 Tutorials
- 68 Various Tutorials
- 71 Web hosting control panels
- 133 Performance and Security
- 29 Web Applications
- 64 Linux Applications
- 25 Windows VPS


[Ubuntu] How to install Nginx
 Justina
Moderator
Justina
Moderator
One of the most popular web servers in the world is Nginx. It uses an event-driven architecture to handle multiple requests within one thread, which makes it more resource-friendly than Apache. You can also use it as a reverse Proxy. In this guide, we will show how to set up Nginx on Ubuntu and its primary management features.
Installation
You can install Nginx from default Ubuntu’s repositories using apt packaging system. First, check and update local packages on your server:
sudo apt update
sudo apt upgrade
Then, install nginx:
sudo apt install nginx
Firewall configuration
Upon installation, Nginx registers itself as a service with ufw. If ufw is not configured accordingly, it won’t allow access Nginx.
To find available application profiles, type in the following command:
sudo ufw app list
The output should look like this:
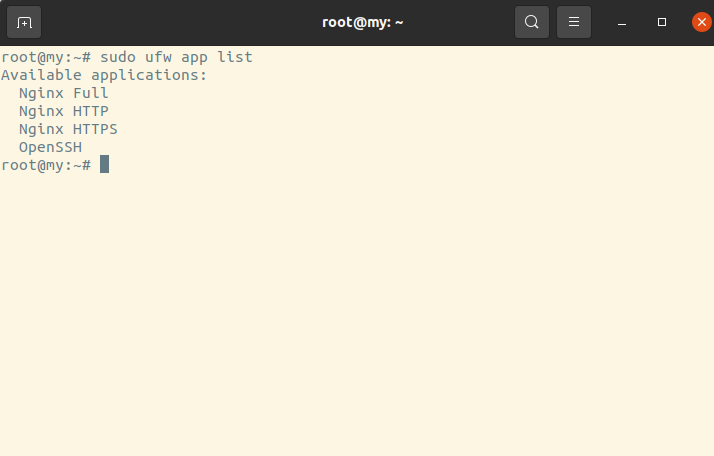
Nginx Full: Opens/closes port 80 and port 443
Nginx HTTP: Opens/closes only port 80
Nginx HTTPS: Opens/closes only port 443
OpenSSH: Opens/closes only port 22
To enable certain profile rules, type in:
sudo ufw allow 'Nginx HTTP'
To disable certain profile rules, type in:
sudo ufw deny 'Nginx HTTP'
To verify ufw status, execute:
sudo ufw status
The output should look like this:
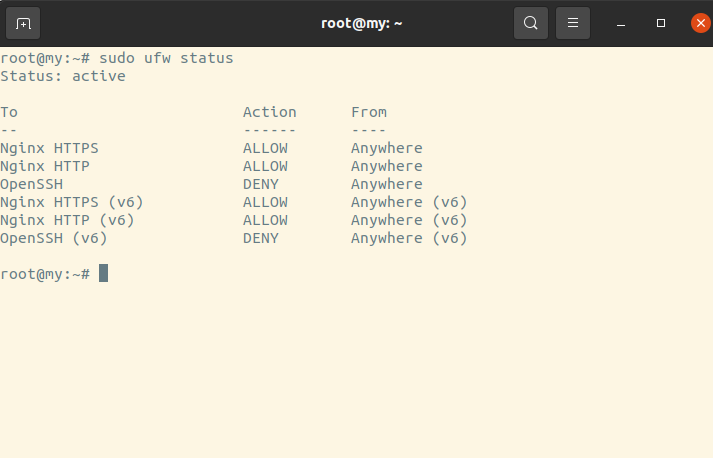
In this example, profiles ‘Nginx HTTP’ and ‘Nginx HTTPS’ are enabled, while ‘OpenSSH’ is disabled.
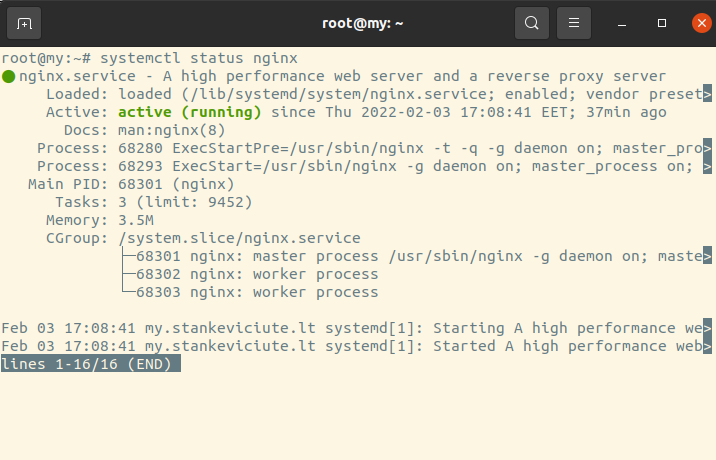
Checking web server status
To make sure Nginx service is running we can check it with systemd init system:
systemctl status nginx
Output:
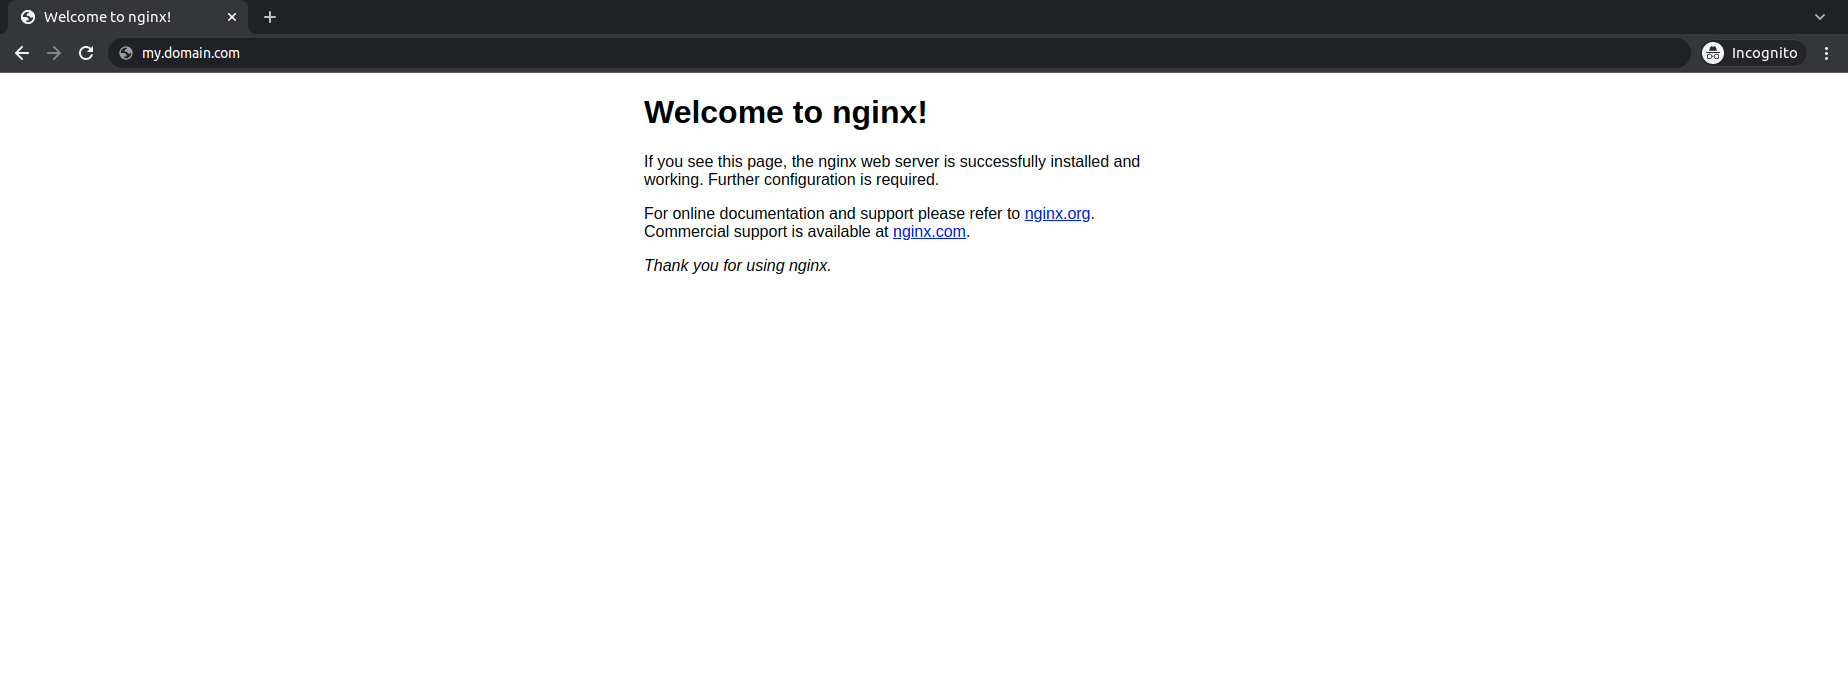
Another way to verify if Nginx is up is to visit your server’s IP/hostname via browser:
Commands to manage Nginx
Below you will find some major commands to manage your web server:
To stop Nginx, use:
sudo systemctl stop nginx
To start Nginx, use:
sudo systemctl start nginx
To stop and start (restart) Nginx:
sudo systemctl restart nginx
To reload Nginx when adjusting configuration without dropping connections, execute:
sudo systemctl reload nginx
Nginx will start automatically with boot. To disable such behavior, use:
sudo systemctl disable nginx
To enable Nginx with start up at boot, use:
sudo systemctl enable nginx
Nginx files and directories
/var/www/html: web content, which only consists of the default Nginx page
/etc/nginx: this is a defaut Nginx configuration directory
/etc/nginx/nginx.conf: default configuration file. Modified to make changes to global configuration of Nginx
/etc/nginx/sites-available/: this folder is for storing all of your server blocks configurations, whether or not they're currently enabled
/etc/nginx/sites-enabled/: this folder contains symlinks to files in the sites-available folder. This allows you to selectively disable server blocks by removing the symlink
/var/log/nginx/access.log: requests to your web server is recorded in this log. You can change the location by changing Nginx configuration
/var/log/nginx/error.log: records Nginx errors
Setting up Server Blocks
Server Blocks in Nginx are the same as Virtual Hosts in Apache. It allows hosting multiple domains (websites) on one server.
By default, Nginx has one server block at /var/www/html. To host multiple domains, you would need to create a directory structure within /var/www for your your_domain_name site, leaving /var/www/html in place as the default directory.
Create directory for your_domain_name, using -p flag to create any necessary parent directories:
sudo mkdir -p /var/www/your_domain/html
Assign ownership of the directory with the $USER environment variable:
sudo chown -R $USER:$USER /var/www/your_domain_name/html
Set permissions:
sudo chmod -R 755 /var/www/your_domain_name
Create index.html file. In this case, we use nano but you can definitely use any other text redactor of your preferences:
nano /var/www/your_domain_name/html/index.html
Add some content, for example:
<html>
<head>
<title>Welcome!</title>
</head>
<body>
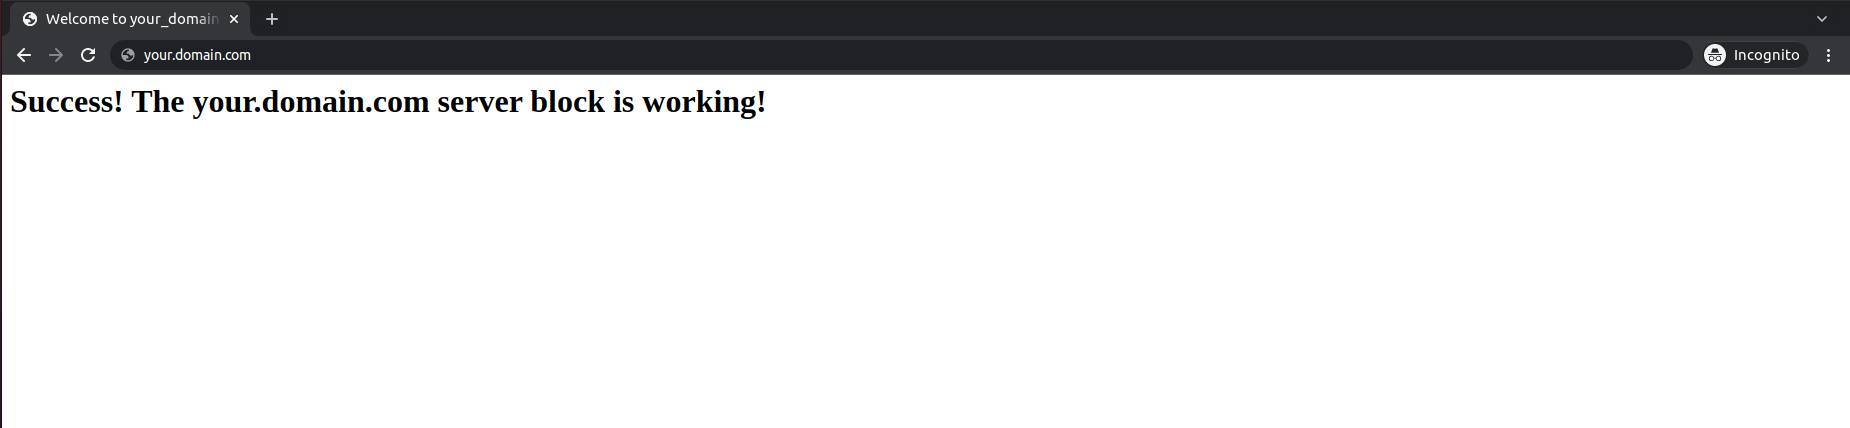
<h1>Success! your_domain_name server block is working!</h1>
</body>
</html>
Save and close file by typing Ctrl+X.
For Nginx to serve this content, you need to create a server block with the correct directives. Make a new configuration file at /etc/nginx/sites-available/your_domain_name insetad of modifying the default one:
Paste in the following configuration block, which is similar to the default, but updated for your new directory and domain name:
server {
        listen 80;
        listen [::]:80;

        root /var/www/your_domain_name/html;
        index index.html index.htm index.nginx-debian.html;

        server_name your_domain_name www.your_domain_name;

        location / {
                try_files $uri $uri/ =404;
        }
}
root configuration was updated to the new directory, and the server_name to your domain name.
Nginx uses symbolic links (symlinks) to track which of your server blocks are enabled. You can later delete the symlink from the sites-enabled directory while keeping the server block in sites-available if you wanted to enable it.
So we need to enable the file by creating a link from it to the sites-enabled directory, which Nginx reads from during startup:
sudo ln -s /etc/nginx/sites-available/your_domain_name /etc/nginx/sites-enabled/
Visit your domain via browser to verify it’s working:
To check all servers blocks configured on your VPS, run the following command:
nginx -T | grep "server_name "
Be sure to include the whitespace to exclude non relevant results.
Recommendation: To avoid a possible hash bucket memory problem that can arise from adding additional server names, it is necessary to adjust a single value in the
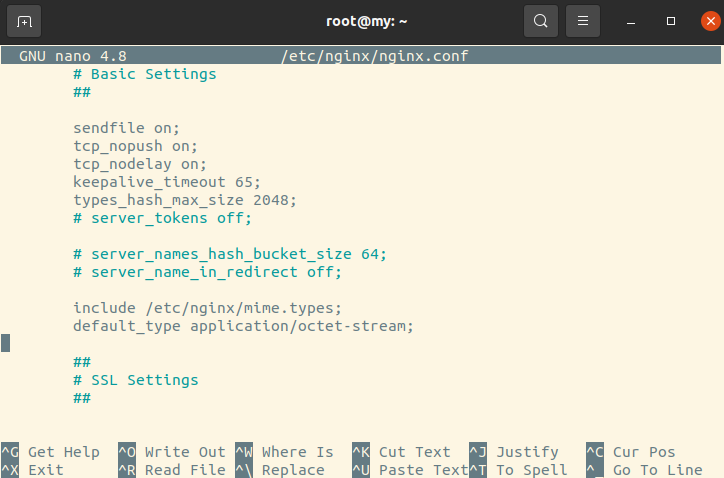
To prevent hash bucket memory problem that can arise from adding additional server names, adjust value server_names_hash_bucket_size in /etc/nginx/nginx.conf file:
sudo nano /etc/nginx/nginx.conf
Comment on the line server_names_hash_bucket_size. Output example:
foot
Feel free to join our constantly expanding community, participate in discussions, strengthen your knowledge on Linux and Windows server management!
© 2013 - 2025 Time4VPS. All rights reserved.