
frame
Howdy, Stranger!
It looks like you're new here. If you want to get involved, click one of these buttons!
Sign In RegisterHowdy, Stranger!
It looks like you're new here. If you want to get involved, click one of these buttons!
Quick Links
Categories
- 1.4K All Categories
- 7.3K General
- 6.2K General Discussions
- 412 Feature Request/Bug Report
- 545 Sales Questions and Answers
- 54 Time4VPS Life
- 242 Help requests
- 244 Server management
- 390 Tutorials
- 68 Various Tutorials
- 71 Web hosting control panels
- 133 Performance and Security
- 29 Web Applications
- 64 Linux Applications
- 25 Windows VPS


[Cockpit] Installing and using Cockpit
 Giedrius
Guest
Giedrius
Guest
Cockpit is a great and easy graphical panel for a VPS server. It allows you to connect to your server via a web browser and manage the server in a very user-friendly way. The software gives an ability to see resource usage, log files, active services - manage them (start, stop, restart) via a graphical interface. It also has terminal, so its not just a monitoring tool, it actually allows you to do everything.
This is a great tool for fresh and less experienced Linux users, who has a harder transition to Linux environment because Cockpit gives you a visual look to manage the basics, and learn work via command line at the same time.
Cockpit Installation
CentOS 7:
yum install cockpit

systemctl enable --now cockpit.socket
Ubuntu 18.04:
apt-get install cockpit

systemctl start cockpit.socket

systemctl enable cockpit.socket
Debian 9:
echo 'deb http://deb.debian.org/debian stretch-backports main' > \
/etc/apt/sources.list.d/backports.list

apt-get update

apt-get install cockpit
Basic Cockpit functions
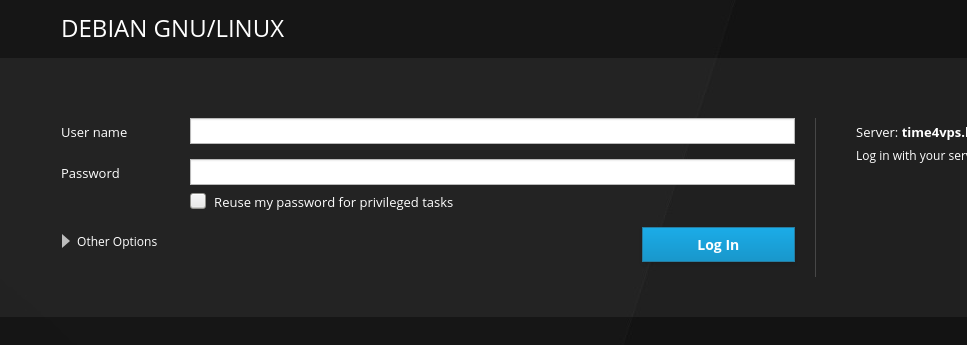
Once you have installed Cockpit, you can access it on any web browser:
Login details are exactly the same as your "root" user details.
The main menu looks like below, it is very intuitive and clear:
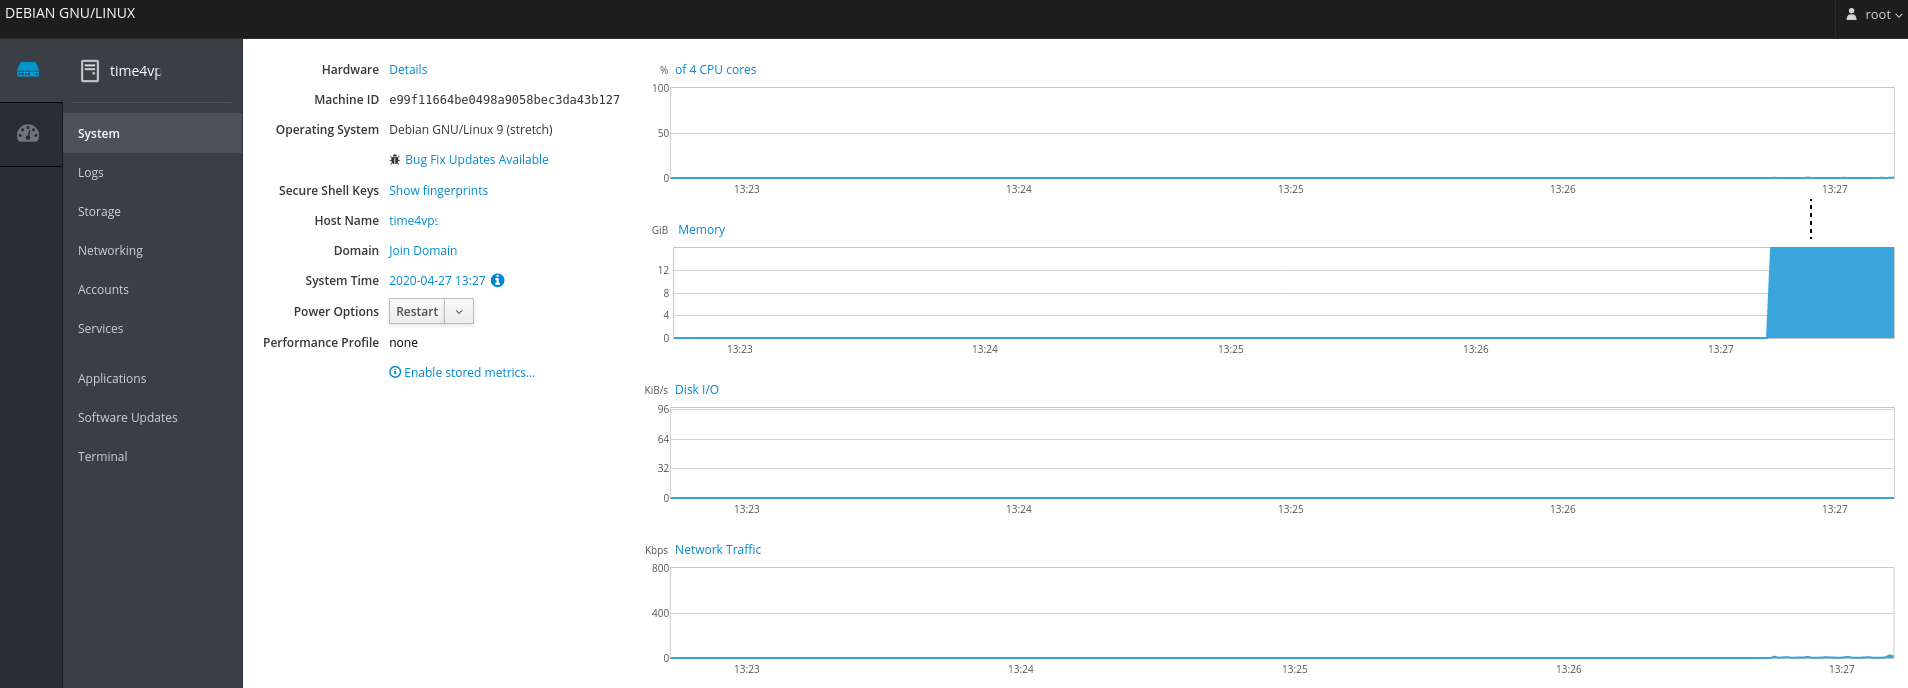
You have the left sidebar, with all the available submenus, and all the rest is to display the server's information. It's easy to read it and make adjustments on spot. The Sidebar menu explained below:
- System - just like a home page, it provides the basic information about the server, main resources graphic. It allows you to Restart the server from the panel.
- Logs - you can choose the date, severity level and just read all the logs: system, network, authentication and etc in one place. They are updated in a real-time.
- Storage - this menu displays information about Read/Write resource usage, storage logs, and your file system.
- Networking - this menu displays Sending/Receiving information, network interfaces, and network logs.
- Accounts - lets you create more server user accounts.
- Services - it displays all the installed services on your server, both enabled and disabled ones. You can enable/disable them; start, stop, restart, check status. All the basics information and actions are available.
- Applications - this menu displays all the applications installed on the server, check their status, perform basic actions.
- Terminal - an integrated SSH terminal that you can use to perform all the other changes or configuration on your server.
The basics functions are more than enough for a less experienced user to get to know the server better without many troubles.
Adding more servers to the Cockpit
This software allows you to add more than one server into a single panel and just overlook them all in one place. In order to add another server, you need to choose "Dashboard" on the left sidebar. You will see a resource graphics and below them, there will be a list of the servers you have added.
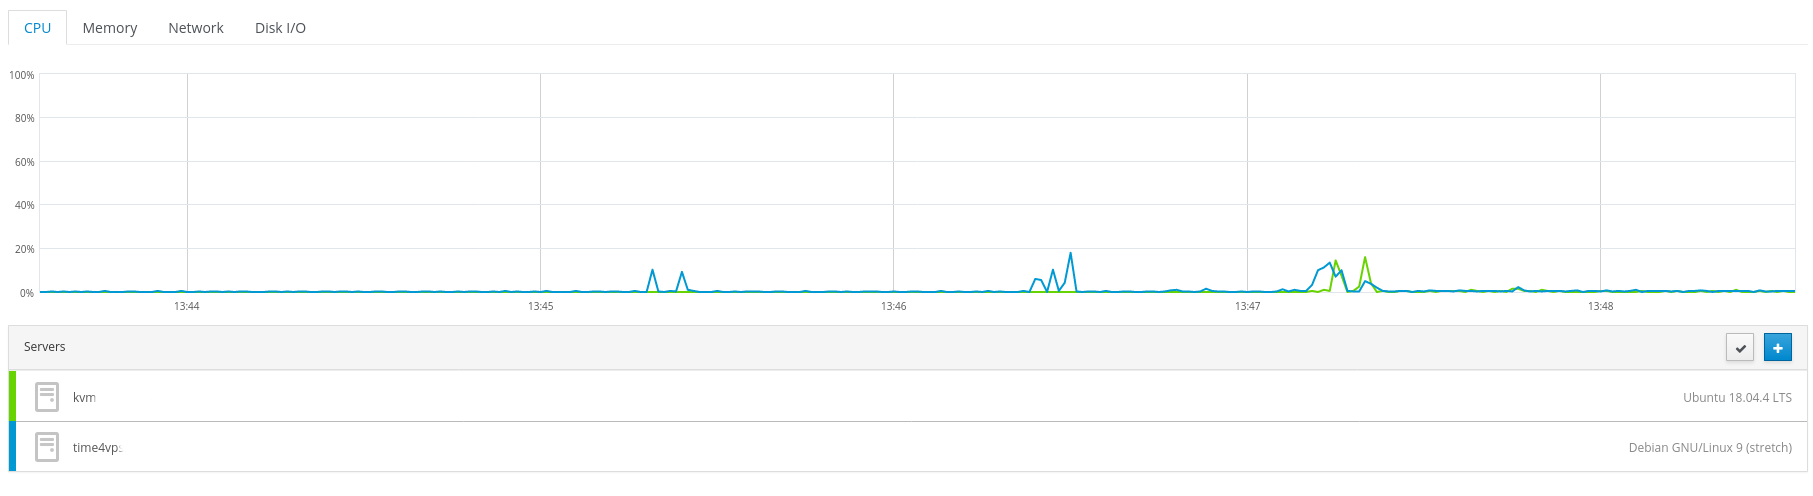
Once again, the software is very intuitive, you just press the "plus" icon and add a new server. If you have multiple servers added, you can just switch between one and another on the main home page.
More information here.
Official documentation here.
foot
Feel free to join our constantly expanding community, participate in discussions, strengthen your knowledge on Linux and Windows server management!
© 2013 - 2025 Time4VPS. All rights reserved.