frame
Howdy, Stranger!
It looks like you're new here. If you want to get involved, click one of these buttons!
Sign In RegisterHowdy, Stranger!
It looks like you're new here. If you want to get involved, click one of these buttons!
Quick Links
Categories
- 1.4K All Categories
- 7.3K General
- 6.2K General Discussions
- 412 Feature Request/Bug Report
- 545 Sales Questions and Answers
- 54 Time4VPS Life
- 242 Help requests
- 244 Server management
- 390 Tutorials
- 68 Various Tutorials
- 71 Web hosting control panels
- 133 Performance and Security
- 29 Web Applications
- 64 Linux Applications
- 25 Windows VPS
Docker: Installation and Basic usage
 Lawrence
Member
Installation
It is recommended to update Ubuntu before you install new software. Run the following command to fetch the latest updates from the Ubuntu repository and install them.
apt-get update
apt-get upgrade -y
Now install docker with the apt command:
apt-get install -y docker.io
Wait until the installation has been completed, then you can start docker with the systemctl command:
systemctl start docker
Enable docker to run at system boot:
systemctl enable docker
You might also want to check the docker version:
docker version
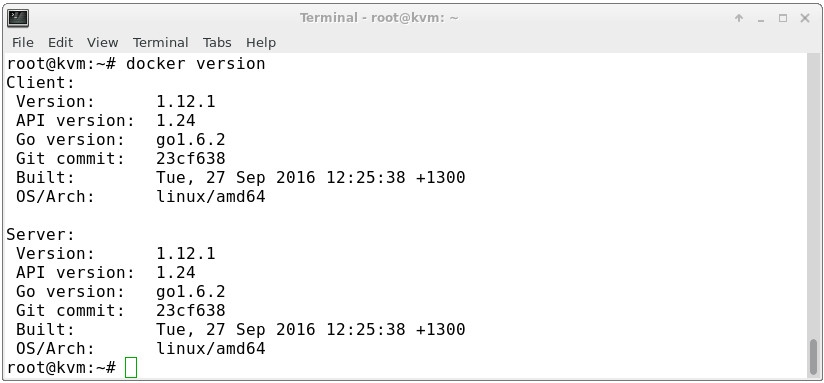
Now docker is installed in your system. You can start making a container by downloading a Docker Image from the Docker Registry.
Basic Usage Of Docker
Now I will show commonly used options of the docker command (e.g. how to download a docker image, build a container and how to access the container).
To create a new container, you should start by choosing a base image with the OS.
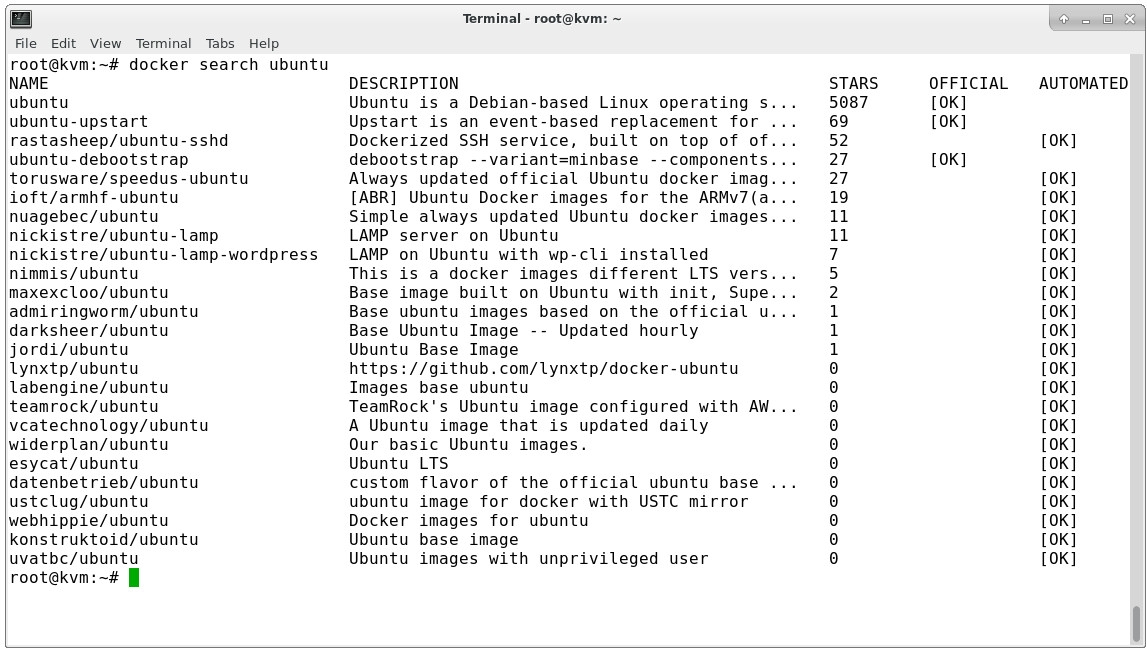
docker search ubuntu
This command will show you all Ubuntu images:
Now it's time to download the base image to our server, use the command:
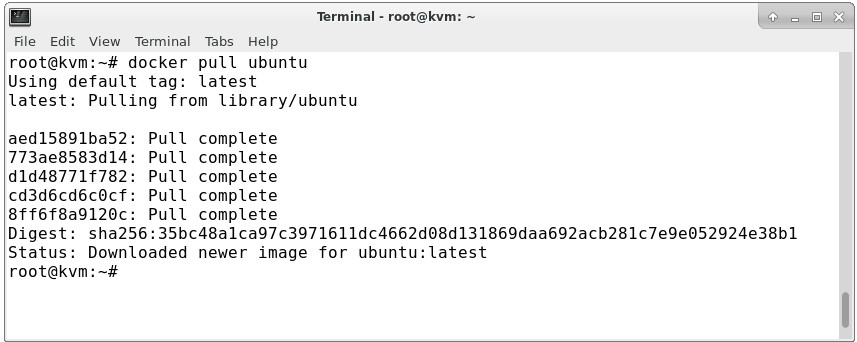
docker pull ubuntu
The docker pull imagename command will download an image to your server from docker registry/DockerHub.
Now you can see all downloaded images by using the command:
docker images
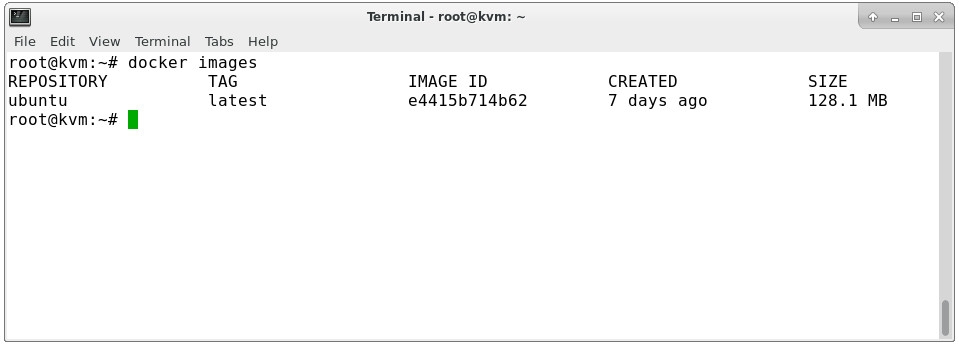
The Ubuntu image was downloaded from DockerHub/Docker Registry. The next step is to create a container from that image.
To create the container, you can use docker create or docker run.
docker create ubuntu:16.04
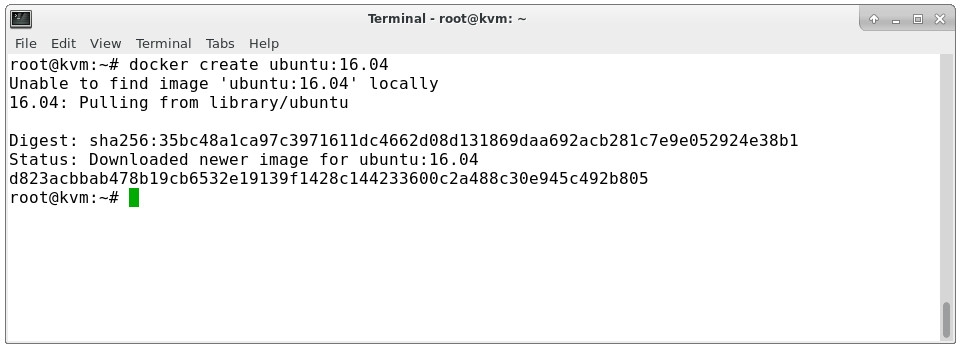
docker create command will create a new container but not start it. So now you can use run command:
docker run -i -t ubuntu:16.04 /bin/bash
This command will create and run a container based in Ubuntu 16.04 image and run a command /bin/bash inside the container, you will be automatically inside the container after running the command.
The container will stop when you leave it with the command exit. If you like to have a container that is running in the background, you just need to add the -d option in the command.
docker run -i -t -d ubuntu:16.04 /bin/sh -c "while true; do echo hello world; sleep 1; done"
/bin/sh -c "while true; do echo hello world; sleep 1; done" this is bash script to echo "hello word" forever.
Now you can see the container running in the background by using command:
docker ps
or if you want to see the logs result from that bash command you can use the command:
docker logs NAMES/ContainerID
How can I access the shell of container that runs in the background mode? This command will connect you to the shell of the container:
docker exec -i -t ContainerID /bin/bash
You can see the hostname and the container ID are equal, this means that you are inside of the container shell. When you type exit on that shell you will leave that shell but the container is still running.
Another command that you will use often is:
docker stop ContainerID
This will stop the container without deleting it, so you can start it again with the command:
docker start ContainerID
If you like to remove the container, stop it first and then remove it with the command:
docker rm ContainerID
This is just a short introduction on the installation and basic usage of Docker on Ubuntu, you can find the detailed Docker documentation page here.
Conclusion
Docker is an open source container virtualization platform which helps developers to deploy their applications and system administrators to manage applications in a safe virtual container environment.


