frame
Howdy, Stranger!
It looks like you're new here. If you want to get involved, click one of these buttons!
Sign In RegisterHowdy, Stranger!
It looks like you're new here. If you want to get involved, click one of these buttons!
Quick Links
Categories
- 1.4K All Categories
- 7.3K General
- 6.2K General Discussions
- 412 Feature Request/Bug Report
- 545 Sales Questions and Answers
- 54 Time4VPS Life
- 242 Help requests
- 244 Server management
- 390 Tutorials
- 68 Various Tutorials
- 71 Web hosting control panels
- 133 Performance and Security
- 29 Web Applications
- 64 Linux Applications
- 25 Windows VPS
[Ajenti] Installing Ajenti and Ajenti V
 Valentine
Member

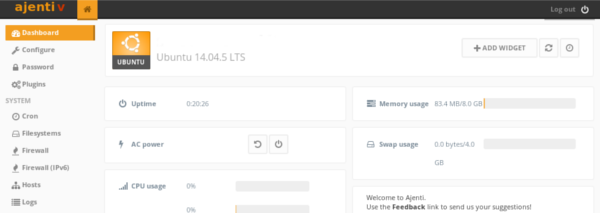
Ajenti is a multilingual web-based server administration panel. With it, it is possible to configure operating system internals, such as users, files, services or configuration files, as well as modify and control open source apps, such as the nginx, PHP, cron and others.
Ajenti is written in Python, running as its own process and web server. It defaults to TCP port 8000 for communicating, and is configured to use SSL with an automatically generated self-signed SSL certificate by default.
The tutorial was prepared with our "Ubuntu 14.04" template and is meant to work on our self-managed virtual private servers.
0. Preliminary requirements:
"Ubuntu 14.04" template installed on server.
1. Installation of Ajenti admin panel
First we have to add Ajenti repository:
wget http://repo.ajenti.org/debian/key -O- | apt-key add -echo "deb http://repo.ajenti.org/ng/debian main main ubuntu" | tee -a /etc/apt/sources.listAfter successful action we are now prepared to install Ajenti:
apt-get update && apt-get install ajenti -y2. Installation of Ajenti V for websites hosting
First we have to remove unnecessary packages:
apt-get remove apache2 -yAjenti V currently runs with NGINX. And in order to install basic LNMP package we need to run:
apt-get install ajenti-v ajenti-v-nginx ajenti-v-mysql ajenti-v-php-fpm php5-mysql -yMore available packages can be found here.
After installation process is done you need to restart Ajenti and you will be ready to use it:
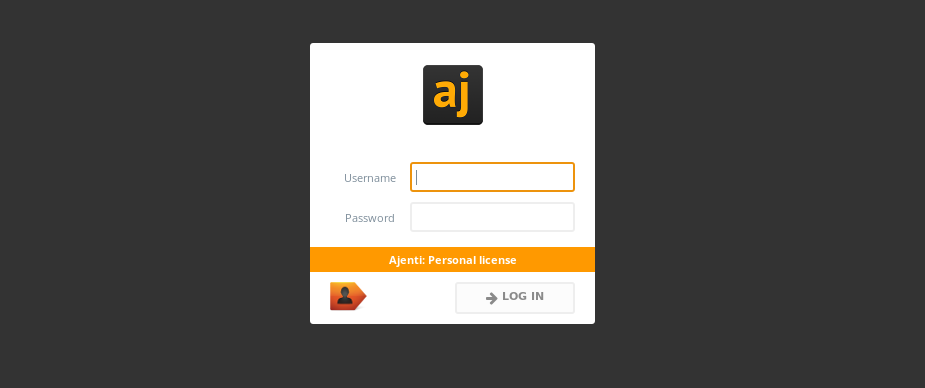
service ajenti restartYou can now login to your Ajenti control panel by opening https://your-server-ip:8000 or https://your-server-hostname:8000 in your browser. Default login credentials which needs to be changed are:
Username: root
Password: admin


Comments